
Raine to take photos,
Javelynn to order us around,
Elise to wash plates and do the unfun stuffs (HAHA)
and me...
I got the most bimbo position (and actually also what I do best compared with the above positions.. haha)- To pose for the camera while I do as Javelynn instructs.
We met up at Javelynn's house (which has two cute dogs which luckily doesn't bite), for a no-bake cheesecake 'baking' session. But seriously, other than posing for the camera, I didn't really do much contribution. Worse thing is I don't even look good in the pictures I posed for. Lol.
Okay, today I will teach you how to aga-aga make a no-bake cheesecake. I don't have the exact measurements!
(some of the) Ingredients:
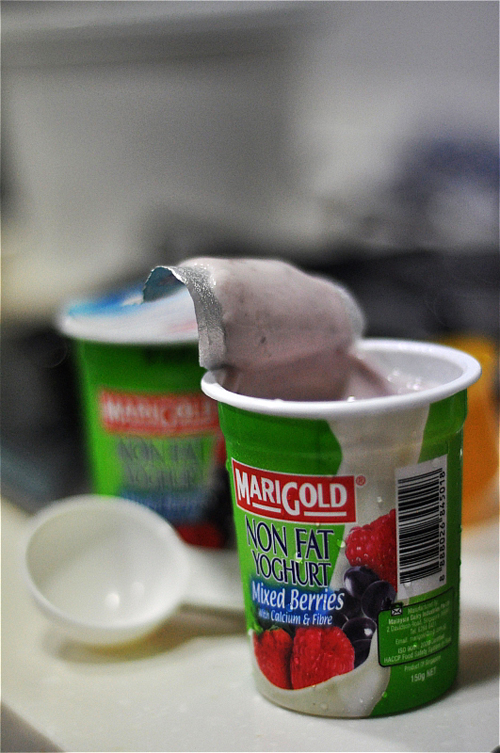
YOGURT.
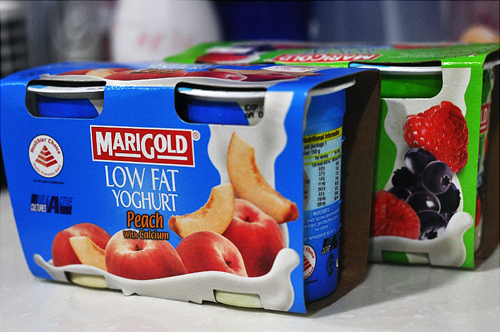
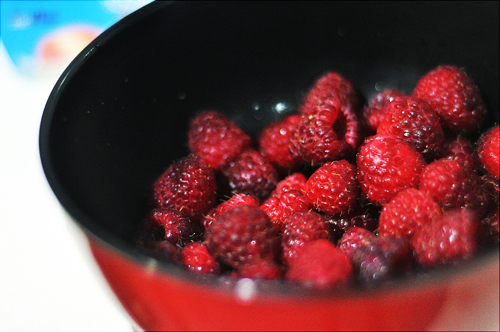
BERRIES (can use strawberry if you want)
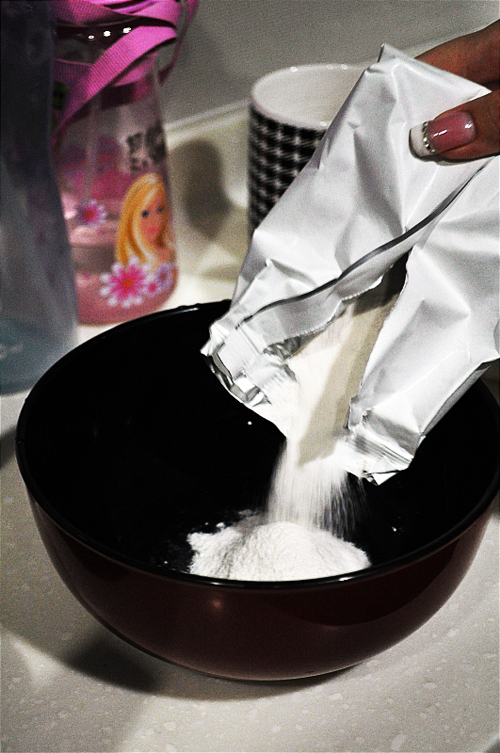
TOFU. It tastes all the same so buy Fairprice budget brand. What, I don't think 50cents tofu got different taste from 80cents tofu lor. Got meh.
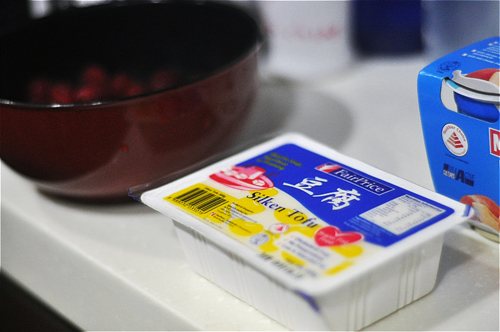
(oh weren't you shocked at Tofu being one of the ingredients? cannot imagine got raw tofu in my cake T_T )
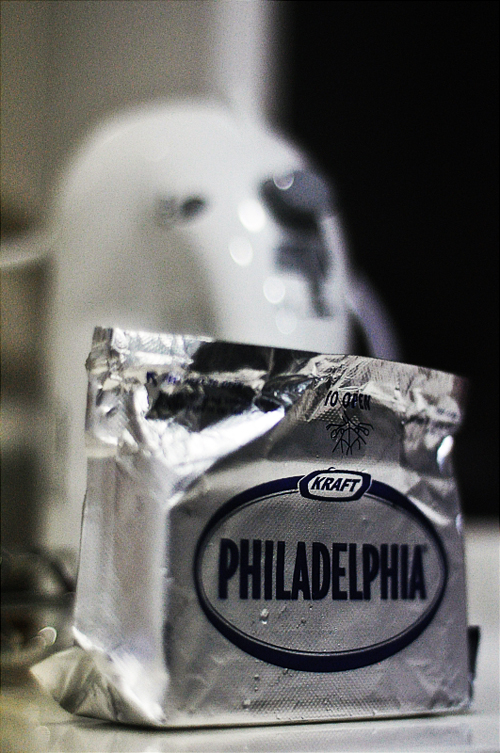
For cheese, different. Cheap cheese no taste one so must buy expensive one. I like strong cheese over light cheese cos the latter feels so diluted like fake goods (like the auntie selling ribena/soyabean milk at the hawker centre, add so much water), me no like.
Still got other ingredients like gelatin powder, peach, etc.
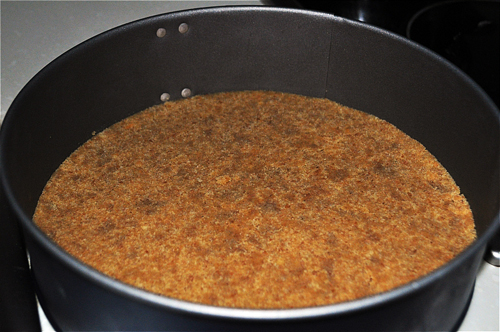
And this biscuit to make the yummy crust!
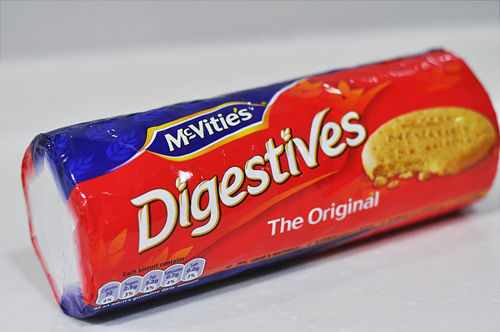
Javelynn did it the night before, so I wasn't there to see how it was made. Lol. I think is crush it, add melted butter and press onto the base of the tray, then chill.
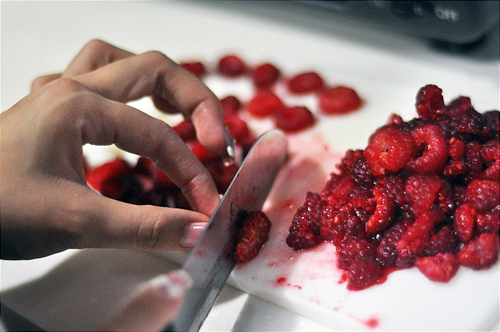
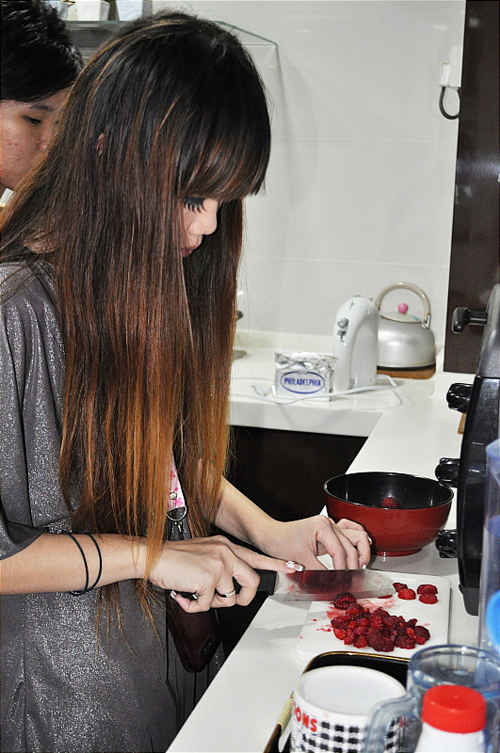
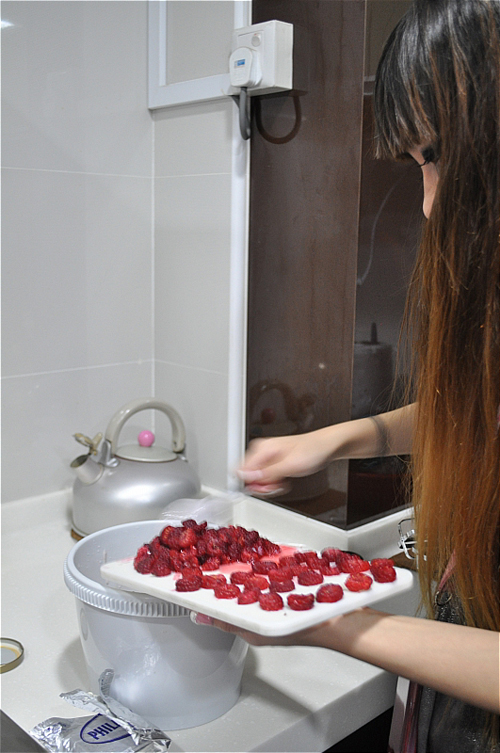
Cut the berries! Some nice ones for the top of the cake and the rest anyhow cut can liao.
If one day I old liao and no man wants me, I'm going to sign up dating site and put this picture below as profile pic. The mother-in-law see already will very impress and say "wah, 进得了厨房的女人!" (actually most of the time I go into the kitchen is just to go to the washroom hahaha. but better than my sis, she go into kitchen to open fridge see got what food can steal.)
Or maybe the potential mother-in-law will say "aiya she bluff one luh, where got 贤妻良母 got 3D gel extensions one. somemore pink colour one so act cute" -___-
But most aunties when they suan me is say " wah hair/(fake)eyelash so long can sweep floor!" Grrrrr. They think they very funny.
From the way I cut cheese you know I not kitchen queen already. My previous boss always ask me how come I hold knife like this one. Lol.
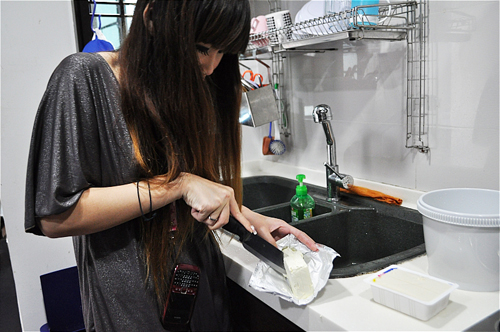
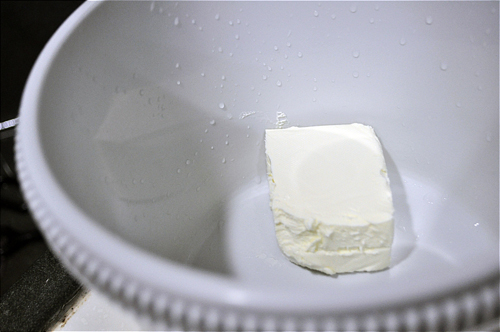
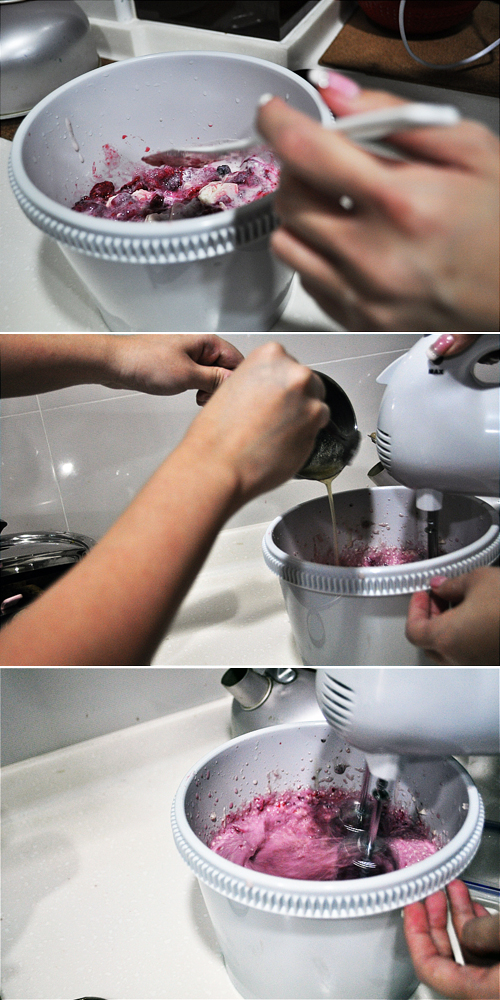
Throw the cheese into the mixing bowl. Nah, a picture of a cheese in a mixing bowl for your viewing pleasure.
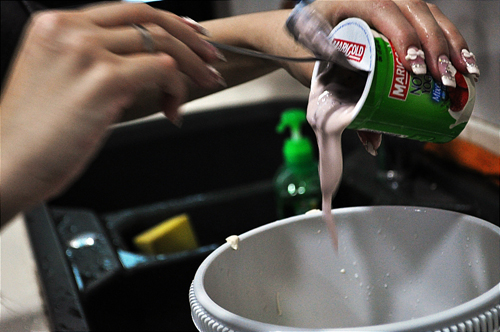
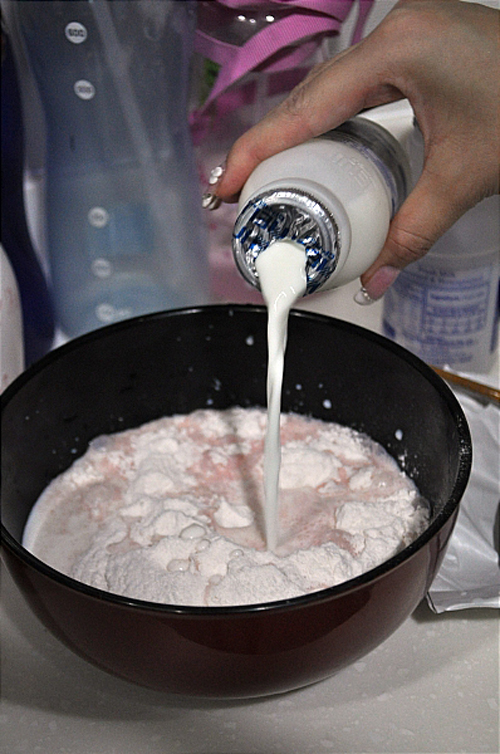
Add tofu and pour yogurt in!
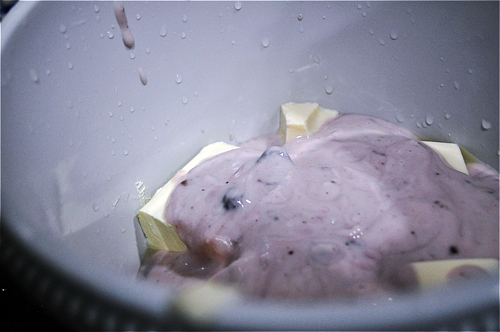
Next, the berries.
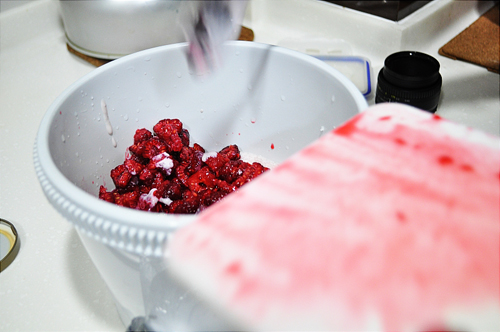
We all did our steps very slowly cos Raine had to take picture so we actually pushed one berry off the plate at a time. Hahaha.
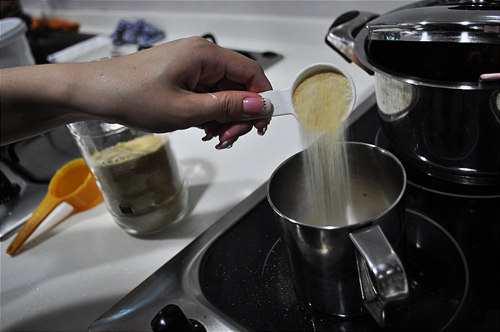
Melt Gelatin powder and water in a cup over heat. (So cool, Javelynn got electric stove! Nextime my house I also want. I'm very scared of gas stove everytime I cook at home I got slight worry that it might explode. *choy. Got one time I was frying something then the fire accidentally had a reaction with some oil and there was like fire overflow I just froze and gasp and turned to my mother to ask what I should do. Haha. So useless! )
Mix the content, halfway through put in the gelatin mixture, and mix again. The machine that we used was quite scary, cos it was so heavy and vigorous!
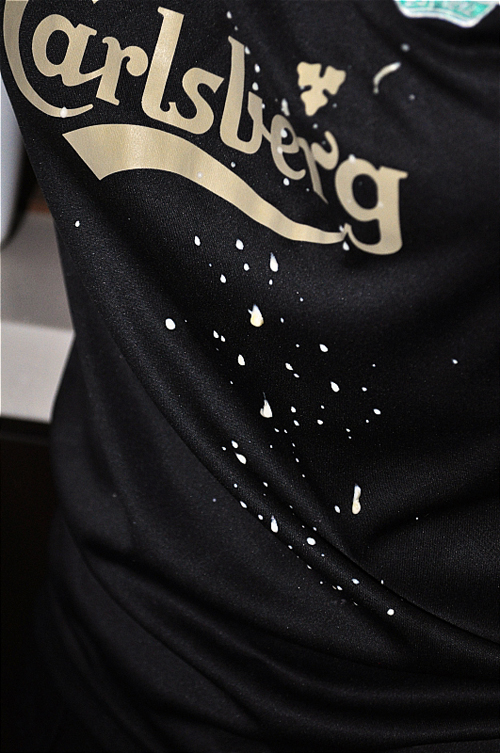
Poor elise splattered on herself while using the machine.
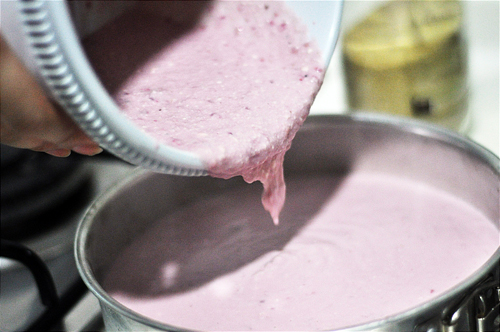
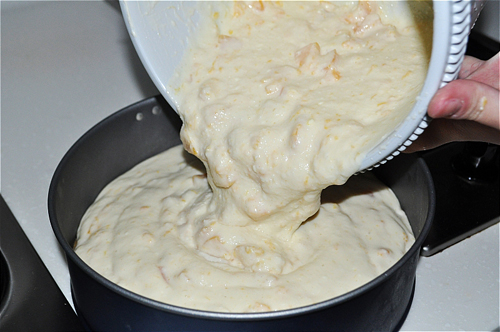
At last, pour the mixed mixture into the crusted container and chill!
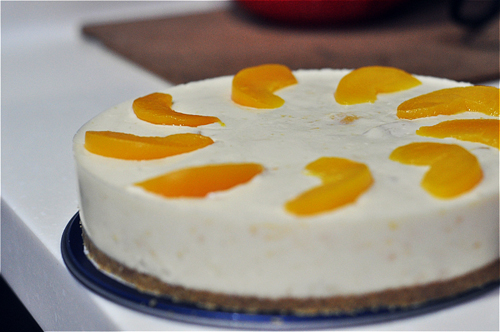
Repeat for peach flavour. I had zero contribution to the peach flavoured one cos I already had my fun for the berry cake so Javelynn and Elise did the peach one!
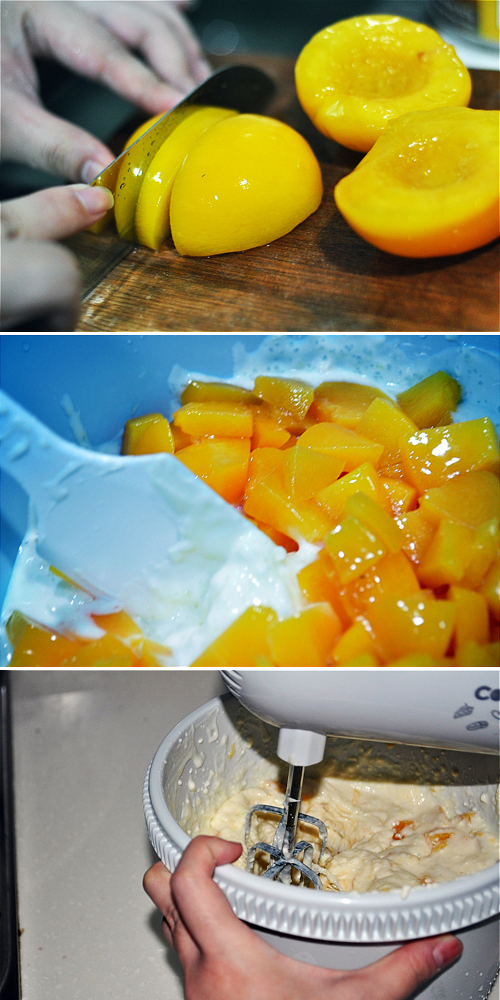
After chilling it for awhile, can put the decorations on top, then chill it again. After around 3-4 hours, tada! Our no-bake cheesecake!
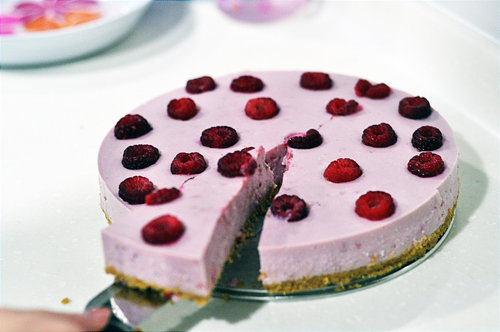
We concluded that we didn't put enough gelatin and cheese.
Now, I'm going to teach you to make a dessert. Very easy one.
Some time ago, I bought this box of Sherbic powder from Daiso cos it looked cute. Haha. $2 only!
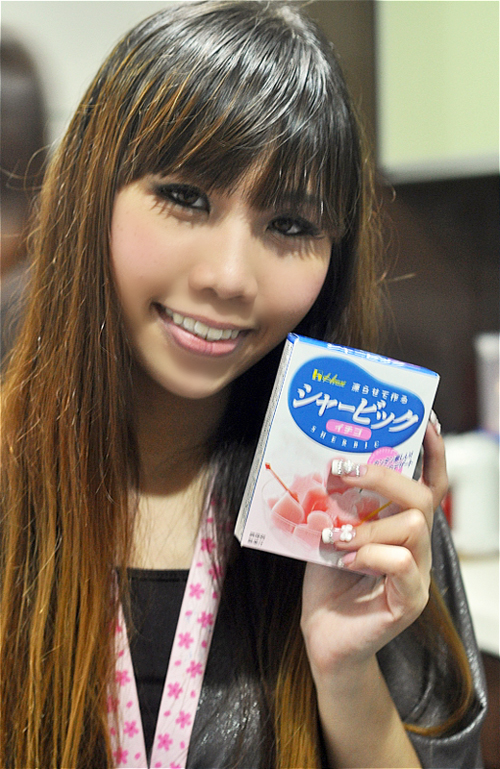
Got instructions label on the box.
Pour powder into a bowl:
Add milk.
Stir well.

Add little fruits, pour into icetray and chill it in the freezer! Instead of boring square icetray, you can also buy those shaped trays like star, circle, heart shape, etc.

Easy right!! Very nice also!
If you like the pictures in this post, credits all to Raine!
No comments :
Post a Comment