I have always wanted to try baking egg tarts and we decided to try it out using the new oven that I bought for bf as his birthday present!
Both of us didn't check for recipes till the baking day itself and we anyhow selected this recipe. The reason why we chose this was because it was based on dough-crust instead of pastry-crust. After reading many other recipes based on the pastry-tart, we came to a conclusion that the one we are going to do is much easier.
Ingredients of crust:
225 gm plain flour
125 gm butter
55 gm icing sugar
1 egg, whisked
a dash vanilla extract
Ingredients of custard:
3 eggs
110 gm caster sugar
225 gm hot water
85 gm evaporated milk
1/2 tsp vanilla extract
Bf was quite shocked that in all we only need 4 eggs!
Here's how we did it. Note that my steps are simplified. For accuracy of time and speed of mixing, please refer to the original recipe that I linked at the top of this entry.
Step 1 - Crust
Mix the butter and sugar until the mixture is smooth, fluffy and light in color. Add in whisked egg. Add vanilla extract, mix well. Sift in flour. Knead into dough.
Fill the sides of the tart-shell with the dough. The original recipe told us to cut the dough with a cookie cutter but I didn't have one, so I just agar-agar. Haha. Make sure that the dough is evenly filled all around.
Step 2 - Custard
Add sugar into hot water, mix until completely dissolved.
Whisk egg with evaporated milk. Pour in sugar water. Mix well.
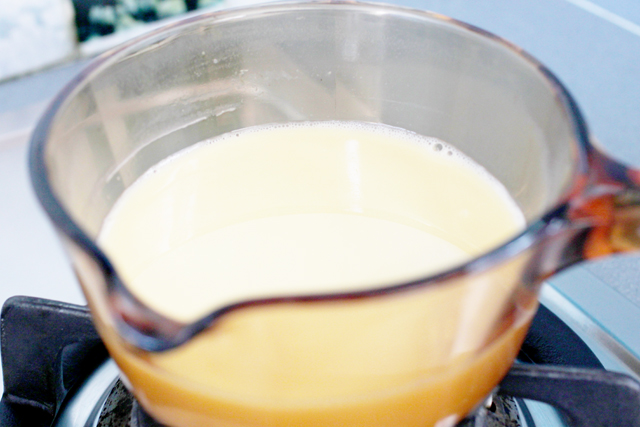
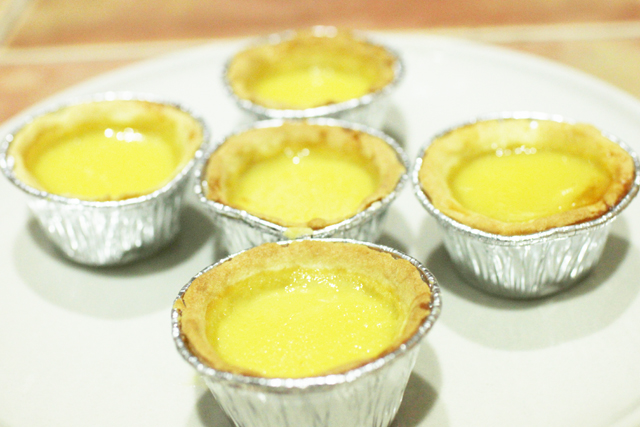
Sift egg mixture to get rid of any foam into a tea pot. Carefully pour egg mixture into each tart shell. Remember to pour to the tip. We poured lesser because we though it would overflow while baking, but it didn't happen and the end results didn't look as nice.
Step 3 - Baking
Preheat oven to 200C. Position rack in lower third of oven. Bake tarts for 10 to 15 minutes until the edges are lightly brown. Lower the heat to 180C. Pull the oven door open about 2 to 3 inches. Bake for another 10 to 15 minutes and after that, insert a toothpick into the custard. If it stands on its own, it’s done.
If you have an oven at home, try it too! The egg tarts turned out delicious! Although the exterior didn't look very professional, it tastes just like store-bought egg tarts!
Success!
Wednesday, July 31, 2013
Monday, July 29, 2013
Dollywink
I think that one of the major changes to my makeup routine was the discovery of fake eyelashes. For more than 3 years, I have never excluded eyelashes from my makeup routine as I feel that my eye look very different with and without eyelashes! Fake eyelashes make my eyes bigger and also create double eyelid crease!
I remember a long time back I had so much difficulty putting on fake lashes, I didn't really bother. Until one day I found out that the type of lashes play a big part in the application process. Now that I have found my type, putting on eyelashes is easy peasy!
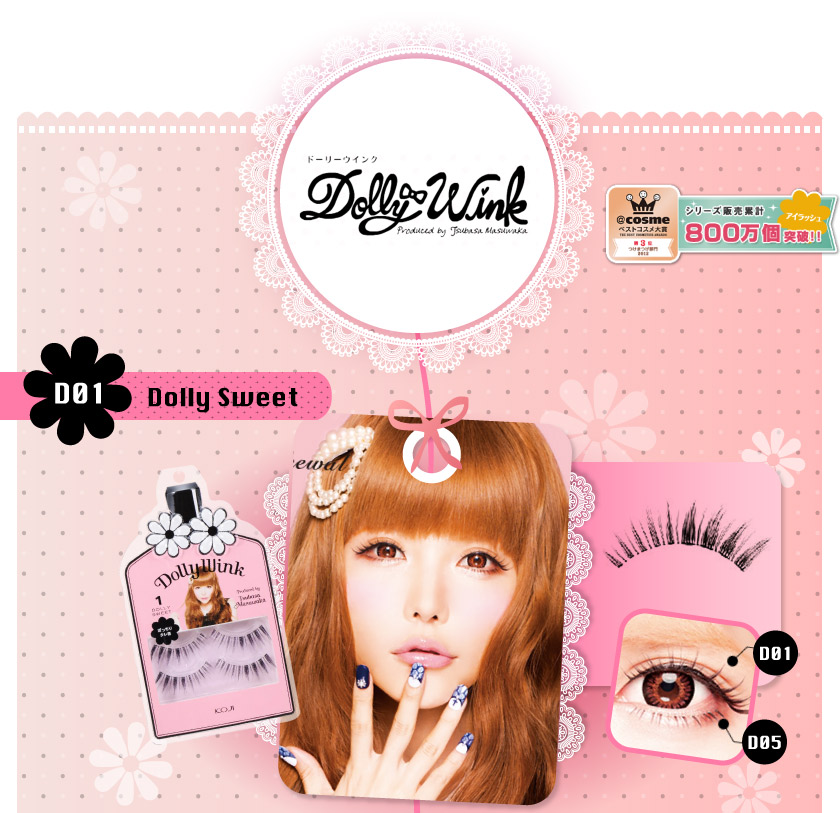
One of the reputable brands out there includes Dollywink! Dollywink is from Japan and is very popular because of the good quality and pretty designs!
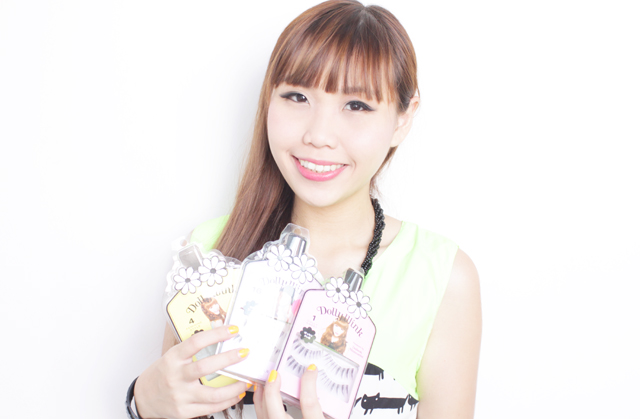
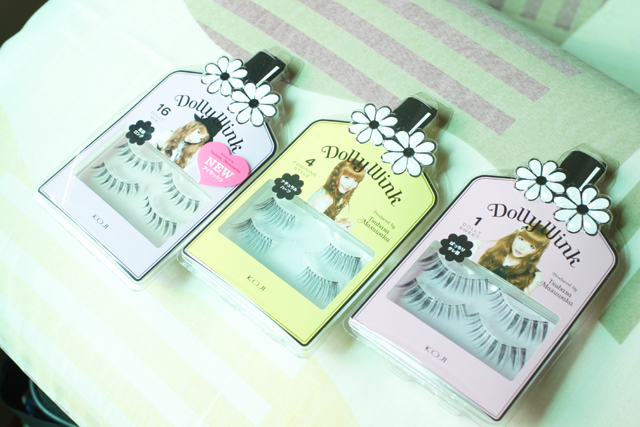
I chose 3 designs from my eyelash sponsor, www.blink.sg.
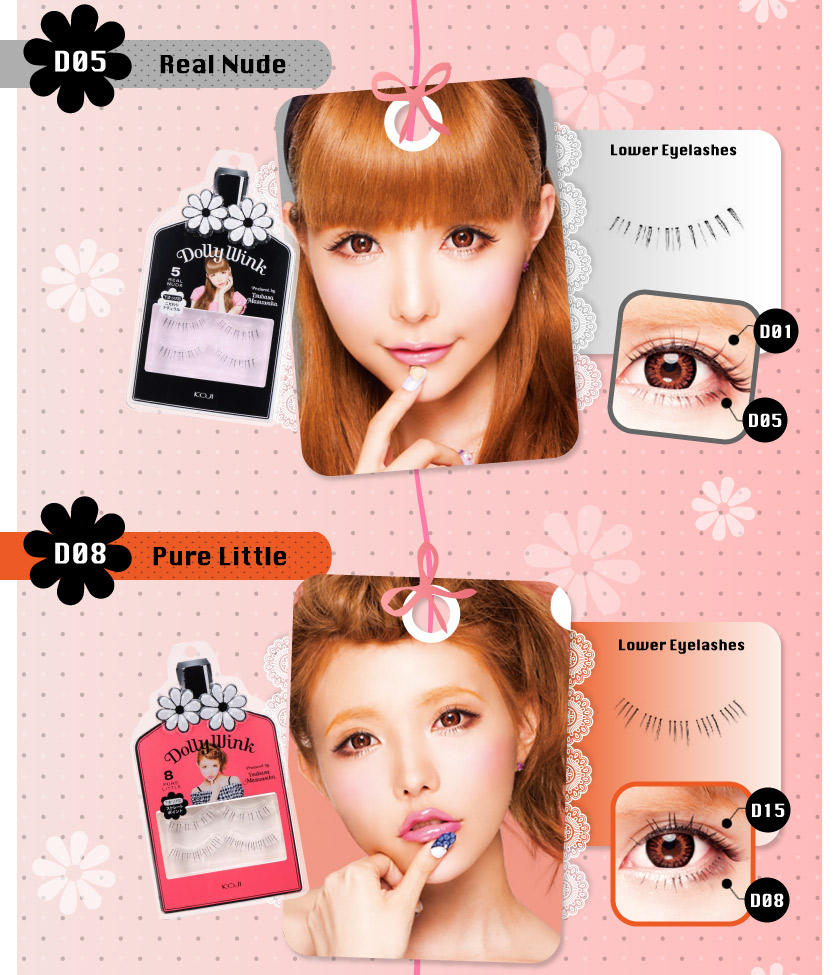
Blink.sg offers a wide range of eyelash designs from Dollywink! Here are some of my favorite designs:
Some tips!
Most people prefer lashes that are thinner at the inner corner of the eyes and denser at the ends. D01 is one that enhances and brighten the eyes!
D02 is suitable if you want to create the round eye/ doe eye effect as it is denser at the centre. Also perks up your eyes!
D04 is natural-looking, yet very long! Suitable for people who want fluttery eyelashes!
There are also many other more natural designs at http://list.qoo10.sg/g/401485094. Personally, I feel that Dollywink's lashes are all generally natural looking but if you want very very very natural ones, get the criss-cross designs.
I love the packaging too! So pretty!
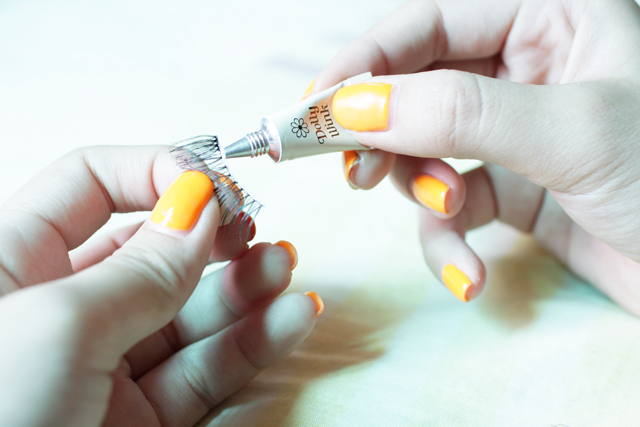
Each pack comes with Dollywink glue too!
Some tips on how to put on fake eyelashes:
1. Cut the eyelash to a suitable length. Apply the glue on the bone of the lash. Usually just one layer will do. You can apply slightly thicker on the two ends.
2. It is easier to paste it on when the glue is half-dry, as when it's wet the lash will slide on your eyelid.
3. When the white layer turns light blue/grey, it's good to paste. Do not wait till the glue is transparent, as sometimes it might not be as sticky anymore.
4. Relax your eyelids so that you can easily paste the bone onto the tip of your eyelids (close to your real eyelashes, but above. Not directly on, and not below). The shorter lash should be inside and longer lash should be at the end.
5. I usually paste the eyelash from the centre first, then I paste down the two sides. I usually paste the lash half cm away from the inner corner of my eyes so that it does not poke when I blink.
Hope this method work for you all! Practice makes perfect! Also, the type of lashes will determine how easy it is. Some people prefer soft bone some people prefer hard bone. You can try for yourself and see which one fits you more! One important point is to get a stronger glue so that it's easier to put on the lashes, and most importantly, the ends will not flip up towards mid-day.
Blink.sg also stock up on Dollywink's lower eyelashes for the complete kawaii look!
All orders at Blink.sg are sent out the next working day and tracking number is provided for each parcel!
Get your eyelashes from Blink.sg now!
Saturday, July 27, 2013
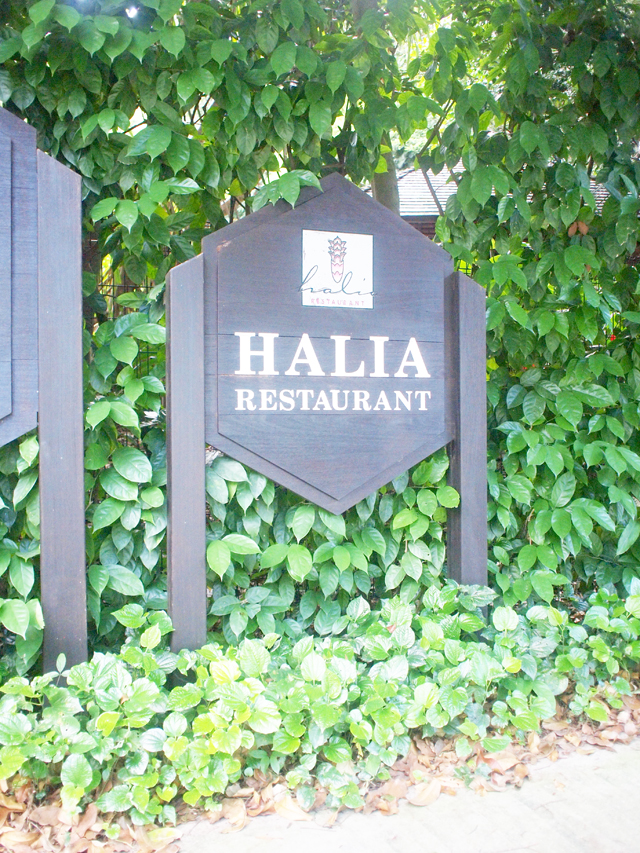
The Halia
I have always wanted to dine at the Halia so I was elated when I received the invitation for a brunch tasting.
The Halia at Singapore Botanic Gardens was established in 2001 and is known for its quality cuisine, well-trained staff, excellent service and ambient settings.
Recently, The Halia revamped their menu with the entrance of its new Executive Chef, Peter Rollinson. He is trained in modern European cuisine and you can expect Asian touches in the new dishes as well.
Here are the recommended items we had!
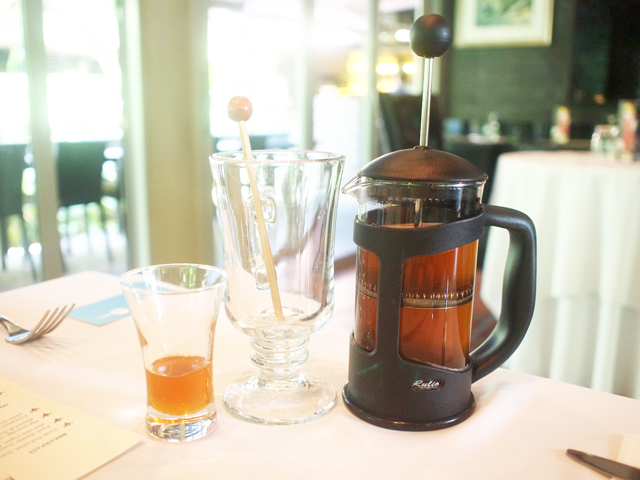
The rest had the Hot Halia Infusion ($10++) as it was one of the signature ginger drink.
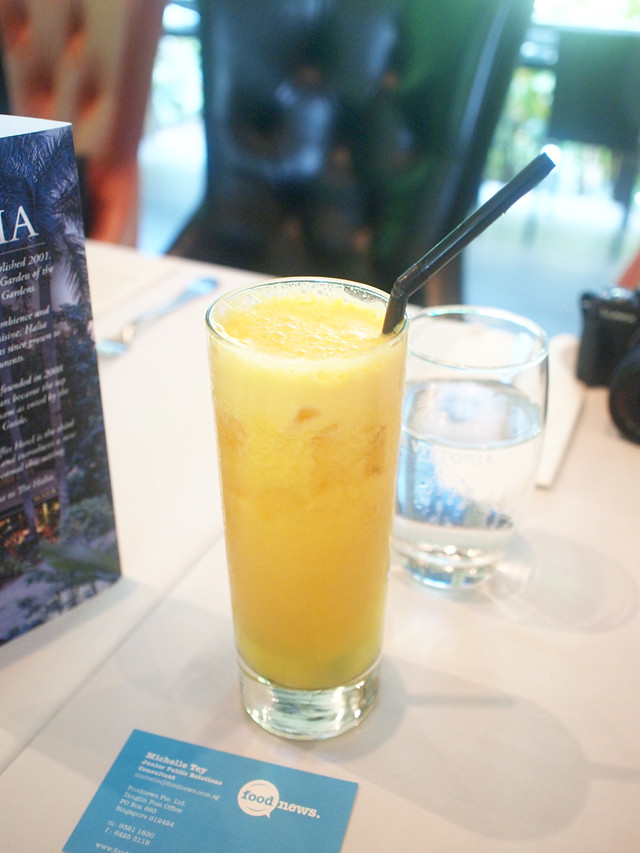
Meanwhile, I had the very safe choice of Orange Juice ($6.50++).
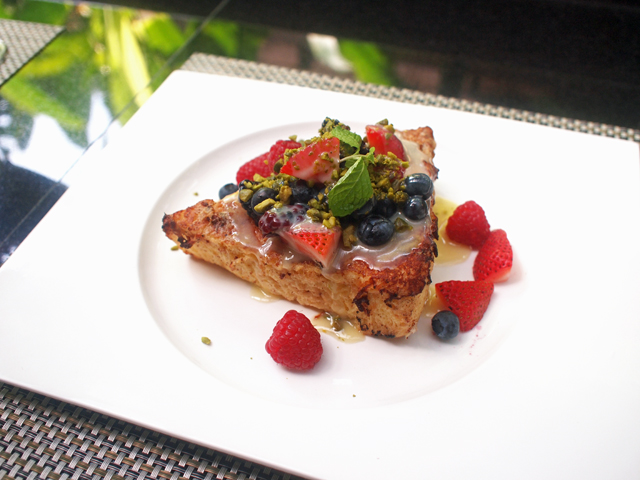
The first dish was a great start. Cinnamon French toast, fresh seasonal berries, white chocolate & Iranian pistachio ($18++). Instead of the usual maple syrup, our toast was topped by white chocolate and surprisingly, the both complements each other well! I initially thought that the combination would be too sweet but it's actually okay, and an interesting change from the usual maple!
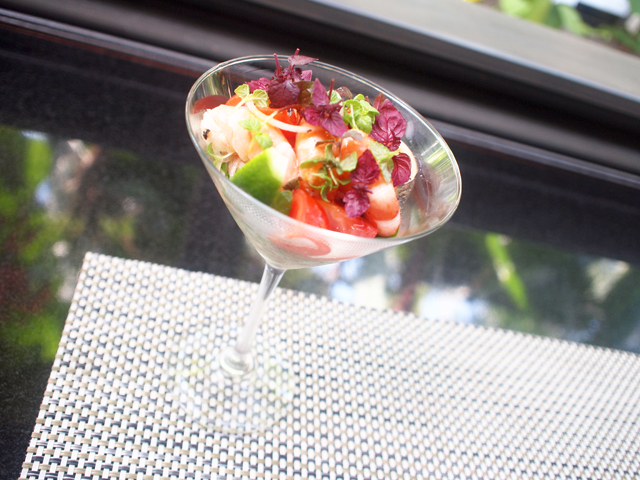
At first I wasn't too interested in this salad dish but after having it I rank it as one of the best salads that I have eaten. Cocktail of king prawns, spicy tomato sauce, avocado, wasabi & coriander ($22++). Can't really taste the wasabi nor spicy sauce. The king prawns were plump and fresh while the vegetables were very yummy, being drenched in some lime sauce. Very refreshing dish!
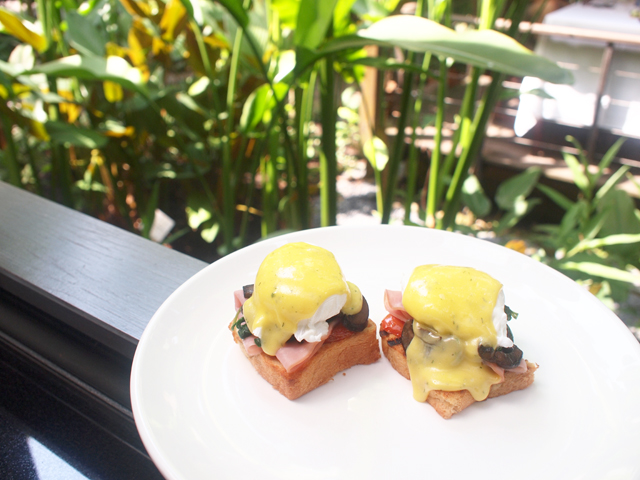
This was possibly the best dish we had at Halia. The Poached eggs on brioche, dill hollandaise, Swiss brown mushroom, spinach & tomato ($22++) was made perfect and very yummy. Wish I could have a second helping!
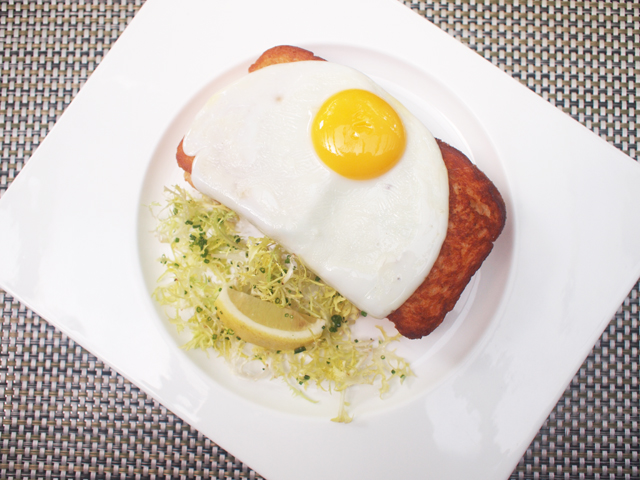
Honestly, I initially had high expectations of the Wood smoked salmon toastie, capers, crème cheese & dill, sunny side up fried egg ($24++) because I was a fan of smoked salmon. Alas, the toast came a littttttle too dry for our liking. The rest commented that it was salty, but it was alright to me. It wasn't really that bad, but probably fare lower as compared to the rest of the yummy dishes! The portion is big, so my advise is to order this for sharing as a side.
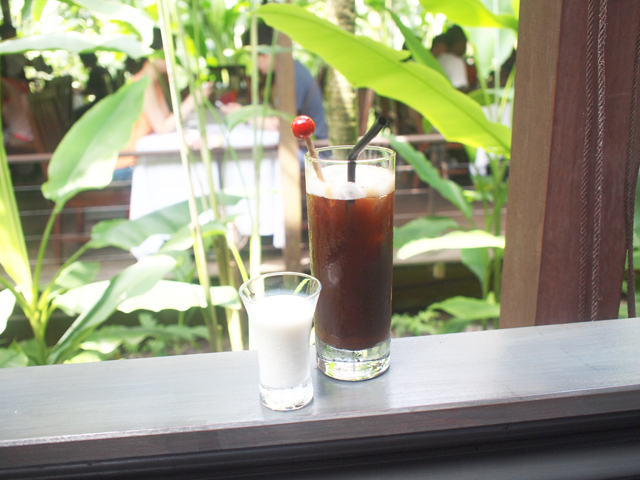
We were already quite filled up by now! A 2nd cup of drink to wash it down, they had the Iced Cardamom, Ginger & Cinnamon Coffee ($12++).
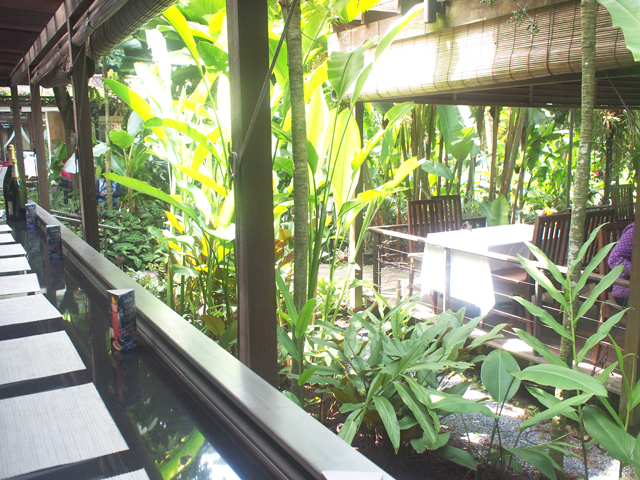
We absorbed in the beauty of the lush surroundings and I have to say that it's really a nice place to spend weekend mornings, watching people jog by with their pets!
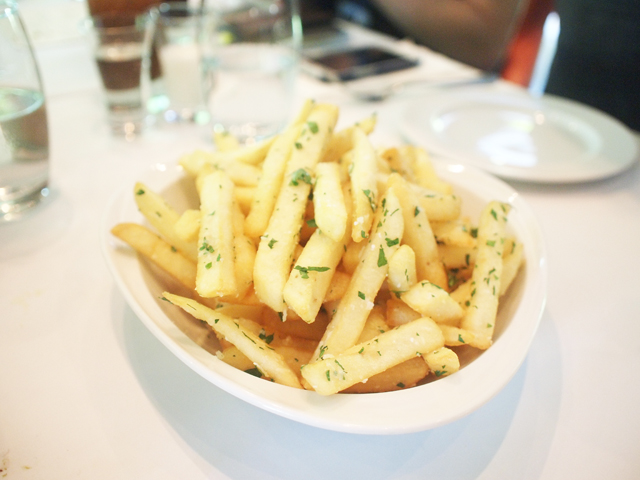
Then, someone mentioned Truffle fries ($14++) and there it came on our table. It's a favorite for many people and it should be good news that it is served at The Halia!
Then..... we had the highly acclaimed Halia chilli crab spaghettini Singapore-style spicy, sweet and tangy crabmeat sauce tossed in pasta ($28++). This is one of Halia's signature dish, and it's not difficult to know why. It's also one of my favourite dish at Halia!
Time for dessert!
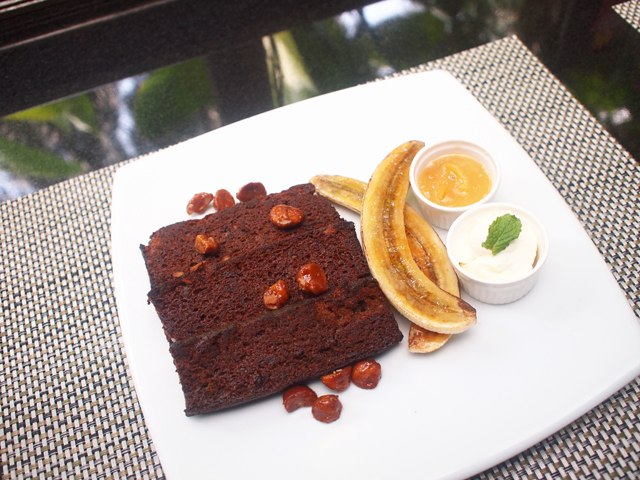
We had the Freshly baked caramelised banana walnut bread, vanilla mascarpone cream, kumquat compote & macadamia nut ($24++). The walnut bread was pleasing to the tastebuds and just the right amount of sweetness. Love the cream, which was somewhat like whipped cream :x
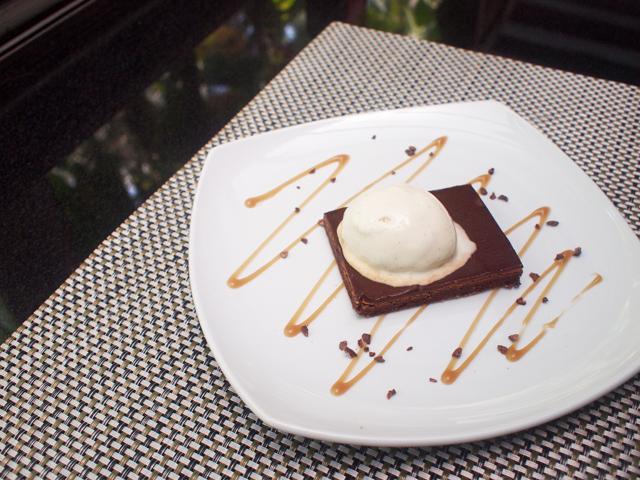
Sticky Valrhona chocolate brownie, salted caramel sauce & vanilla ice cream ($12++)
The Halia
1 Cluny Road, Ginger Garden
(enter via Tyersall Avenue)
Singapore Botanic Gardens,
Singapore 259569
For reservations:
(65) 8444 1148
*Reservations not accepted for brunch and tea
www.thehalia.com
http://www.facebook.com/HaliaRestaurant
http://twitter.com/TheHalia
Thursday, July 25, 2013
Advertorial: Silkpro Hairvolution
I remember when I just got out of secondary school, the first thing I did was to dye my hair blonde. Well, it did not really turn out the way I wanted it to be, and I ended up with gold. Haha. Many people around me were shocked at how extreme I went for my first ever hair dye.
Then, everyone started calling me lion so I went to dye even lighter (can't find the photos anymore but it was really light). I remember going through quite a few bottles of hair dye just to get the desired tone.
Thereafter, my hair was never once natural. I tried light brown, dark brown, medium brown, red, ash, pink and more. Especially now that ombre, highlights, and outrageous colors are in trend, people always tell me that they also want to dye pretty colors, but are afraid of spoiling their hair.
In today's society of fashion and beauty, it's inevitable that we will put our hair through zealous chemical hair treatment and excessive use of hair products. With environmental pollutants, UV rays and stress, it often results in the following hair problems - hair fall, dandruff, dry and frizzy, or flat and limpy hair.
Actually, the condition of hair usually depends on how you treat your scalp!
Let me introduce ... HAIRVOLUTION!
What is HAIRVOLUTION?
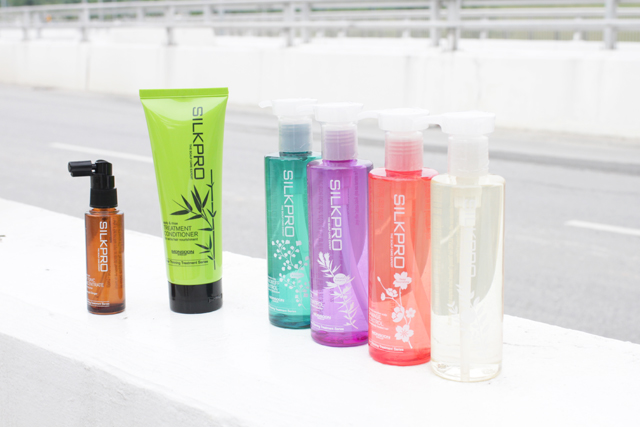
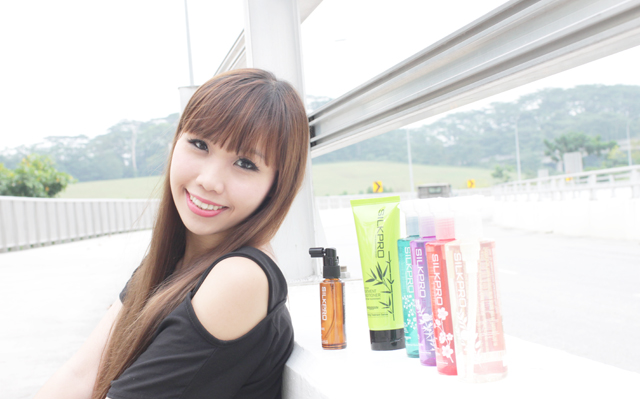
It is a transformative, easy 3-step regime that is set to revolutionize the way we can protect our hair from damage and hair fall. All with the following products!
Now I will teach you how to Balance, Strengthen and Protect in 3 easy steps!
Step 1: Balance
Continuous usage of a single shampoo makes scalp and hair unresponsive to the product over time. Many times we have more than just one problem and using just one type of shampoo is not enough. Alternate your shampoo to balance hair nourishment!
The Silkpro range has 4 types of shampoo (Available in 630ml and 265ml) to meet your needs!
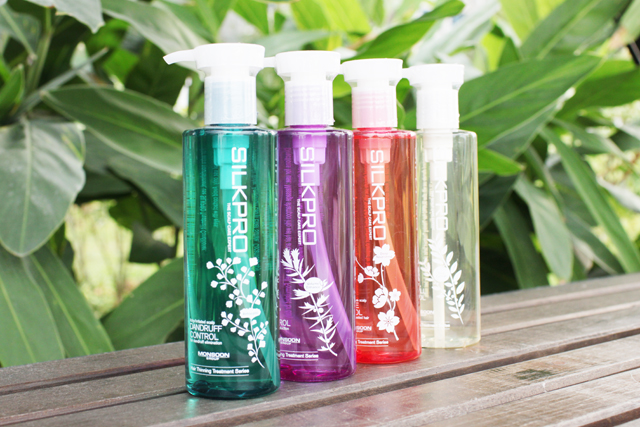
SILKPRO is enriched with the natural moisturizing properties of silk to provide hair and scalp with maximum hydration and moisture retention. Ingredients inside protects and care for the scalp, promotes cell regeneration and blood circulation through anti-inflammatory and anti-microbial eastern and western herbs! Unlike many other brands on shelves, Silkpro has a silicone-free formulation, which prevents the hair from becoming limp towards mid-day!
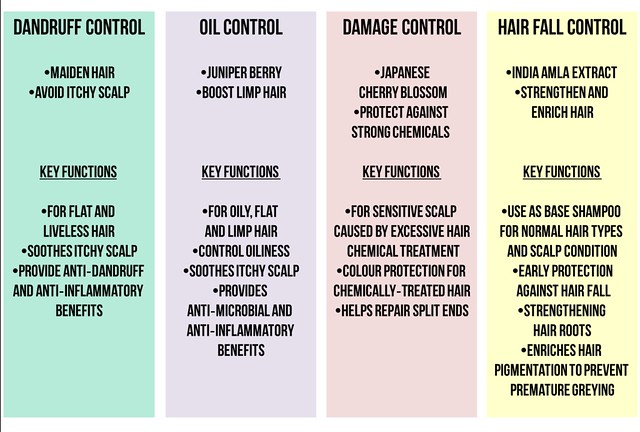
Easy graph to show you the key functions of each bottle:
Step 2: Strengthen
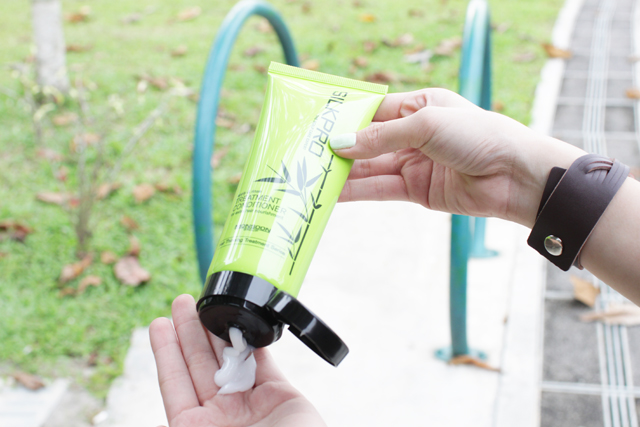
The treatment conditioner serves to strengthen the tips! Enriched with bamboo and other natural active ingredients, it cares for as well as protect hair texture and colour! It is for dry ends, permed, rebonded or coloured hair as it locks in hair moisture, repair the hair ends as well as maintain the hair colour! It is extremely essential for us ladies who put our hair through so much just for beauty!
I love the fragrance of the conditioner and how smooth my hair feels after conditioning. Does not feel oily at all! Remember not to use on scalp, apply on areas 3 inches away!
Step 3: Protect
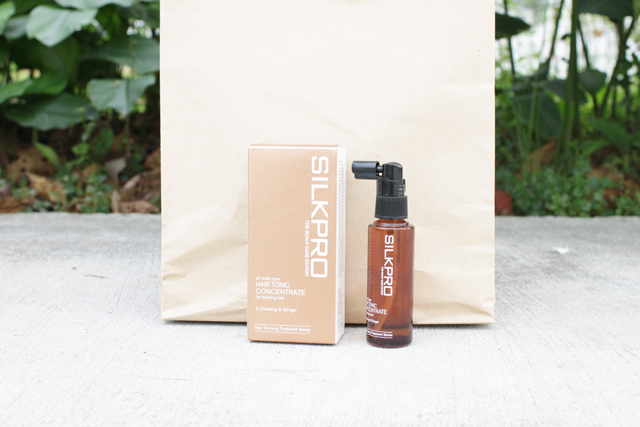
Now on to the final step. Apply Silkpro's Hair Tonic Concentrate to protect scalp! Ingredients include 3 types of ginseng (American, Chinese and Korean) and ginger. If you use it daily, it will help to promote healthy hair growth, invigorate hair roots, revitalise active follicles and fight follicles aging process! These prevents hair breakage, premature hair fall and thinning hair! Wow, so many benefits!
When I applied it on my hair, it gives a pleasantly warm sensation on the scalp. This warming effect actually boosts scalp micro circulation! The tonic will regulate and balance scalp-sebum secretion. The hair tonic concentrate is really important for a complete hair and scalp care regime!
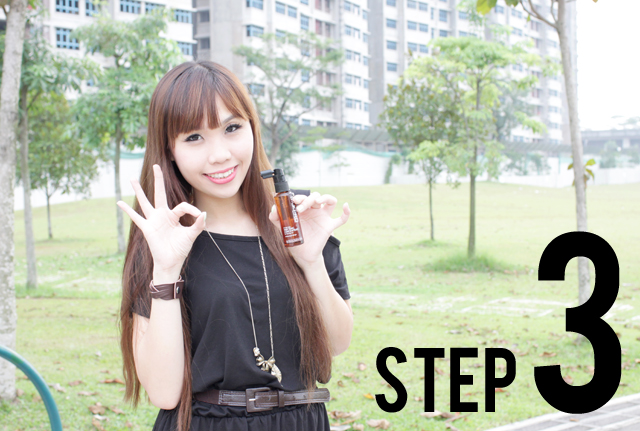
It is also easy to use the tonic! Just divide your hair to side parting, spray some, then divide your hair to side parting on the other side, and spray.
Protect your scalp, Perfect your hair with this fuss free 3 step regime!
Step 1: Balance
Alternating shampoo will allow you to solve your hair issues more efficiently.
Step 2: Strengthen
The conditioner will strengthen the hair and help to prevent easy hair breakage and keeps it smooth. Remember to apply it 3 inches away from the scalp! I have been telling this to everyone around me!
Step 3: Protect
Final step of the routine is to protect both scalp and hair!
Just these 3 steps for total care of the hair!
Silkpro Promotion
Purchase of any Silkpro Treatment Shampoo (630ml) now comes with a free bottle of SilkBath Botanics Soothing Balance (200ml)! Exclusively at NTUC Fair Price outlets from 15 July till 12 August 2013.
Full list of outlets available a www.facebook.com/silkprosg
More information on the products and promotion on:
www.silkpro.com.sg
Also, do check out this cool hairvolution video featuring Rozz and Ryan!
www.youtube.com/silkprosg
Wednesday, July 24, 2013
Gamila Secret
[Ad]
BLINK.SG is an online retailer for beauty products like eye lashes, skin care and hair care! I have been using eye lashes from BLINK.SG since a very long time! Recently, they sent me their new product - Gamila Secret Facial Cleansing Bar.
I was very intrigued by the wonders of the soap! It claims to cleanse the pores, removing blackheads and acne. There are many different "flavours" and each had their own benefits. You can find out more about each bar at BLINK.SG! Some of the good benefits includes improving skin's elasticity, softening, and hydration and more!
I got myself 3 of them after reading about how it is highly recommended by Taiwanese famous make up artist Zhang Jing Kai, TV shows like Nu Ren Wo Zui Da and featured in many international media magazines.
Monday, July 22, 2013
Ocean Restaurant
This is the 2nd part to bf's birthday last month! It is going to be a very blue entry!
So, I wanted to give him a birthday experience that was centralized around his favourite hobby - Diving. I found out about this restaurant 'Ocean Restaurant by Cat Cora' located at Resorts World Sentosa and decided that it will be the best place to bring him for his birthday! However, the restaurant was closed for private event on the exact date, so we went two days later!
Outfit of the day. I was so in love with this dress I got from JIPABAN some time back that I kept it in my wardrobe till this special date! Actually, the bag and wedges are from JIPABAN too!
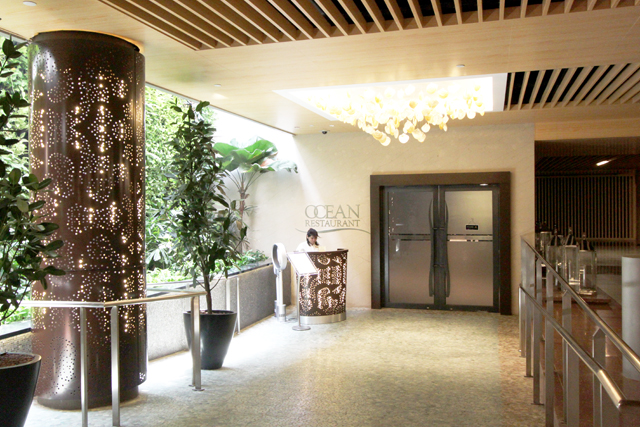
Entrance. This entrance is from the carpark. Else, you'd have to enter via the S.E.A Aquarium.
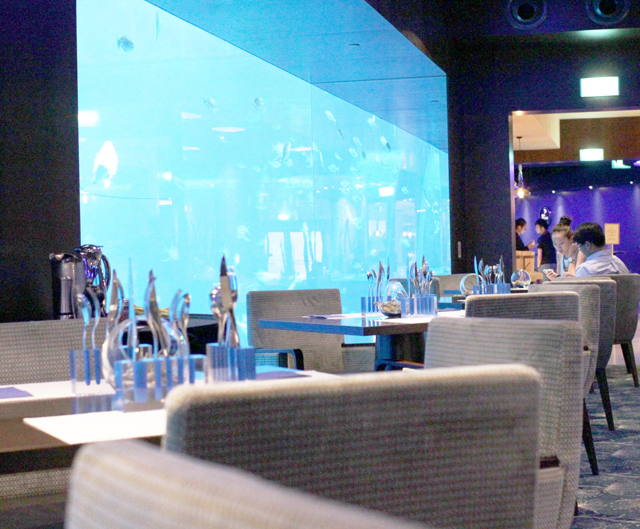
The big viewing panel beside the tables.
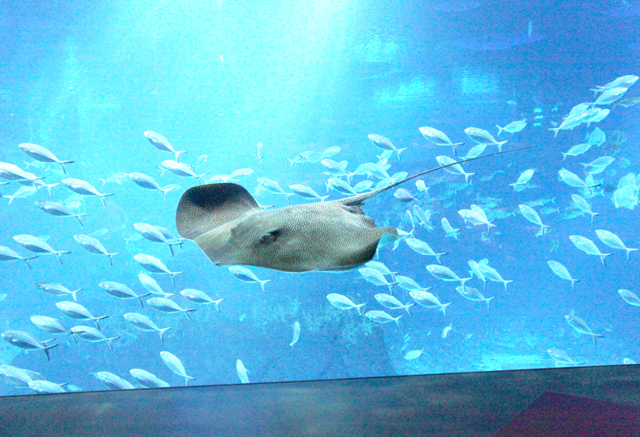
Check out our spectacular view while dining!! I was a very happy girl that day cos I saw how happy my bf was. Haha.
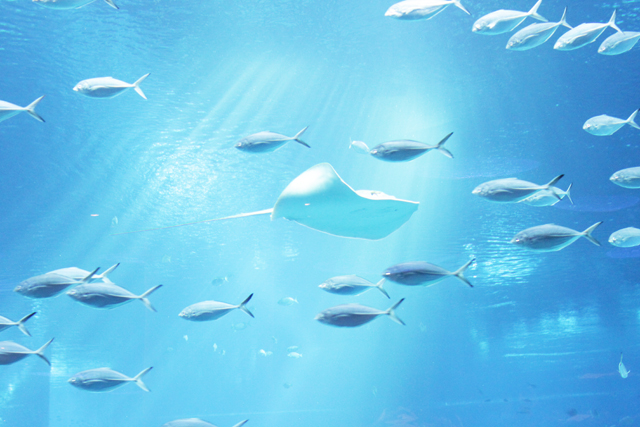
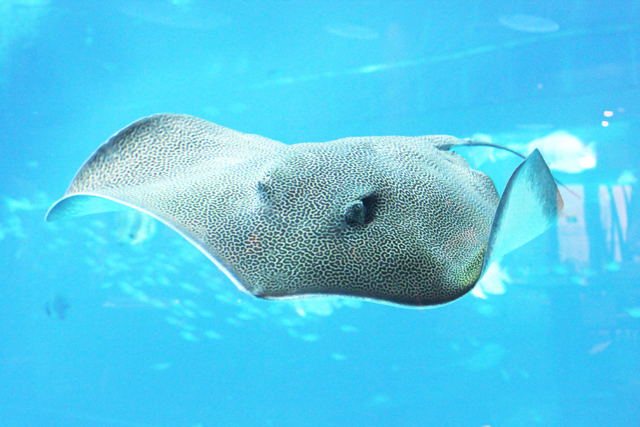
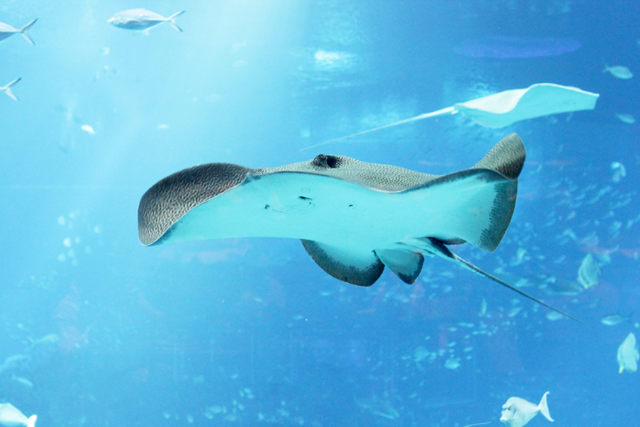
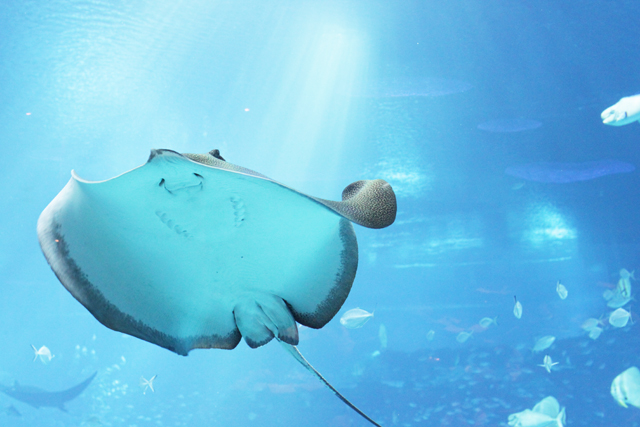
One of the stingray came to "pose" beside our panel for quite awhile when we just reached. So cute! ^_^ I have so many photos of stingray because they are the easiest to capture on camera!
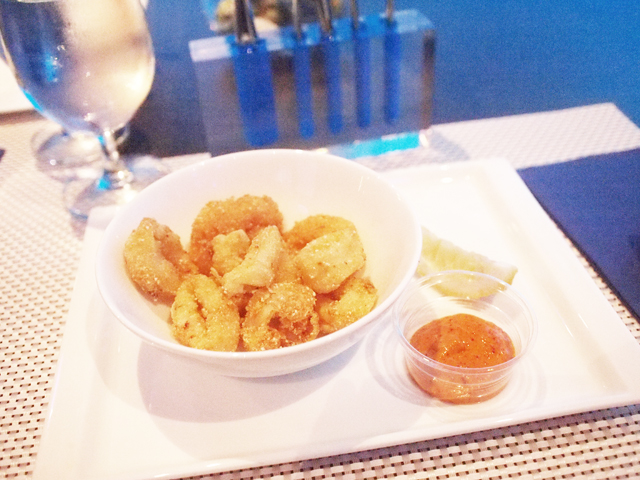
On to the food after all the wow-ing! We had calamari and prawns for a start and it was probably one of the best calamari I have ever eaten. Crispy on the outside and yummy inside. Not bland or floury at all!
Sous Vide 48ºC King Salmon. This was good too. Love it very much!
I had the Baby Lamb Rack wih Gremolata. It comes with a 'fried cake' which was quite interesting and nice!
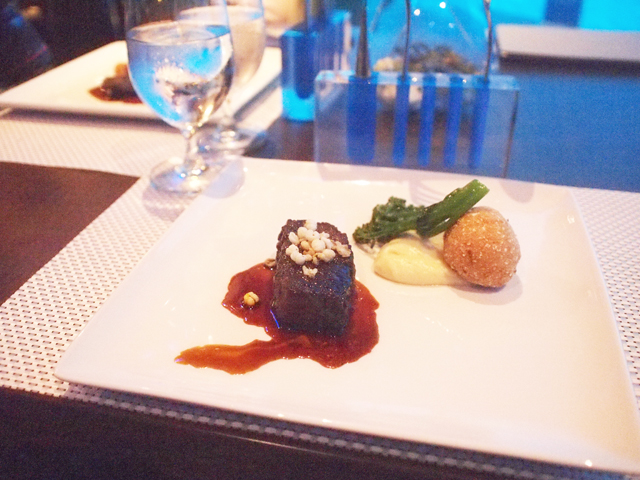
Wagyu Short Rib for bf.
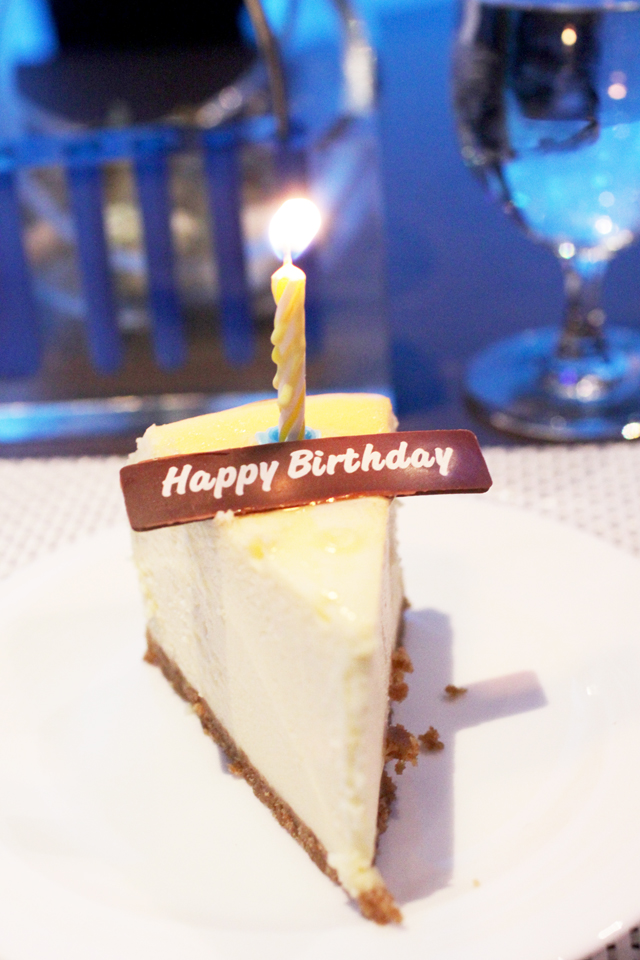
Birthday cheese cake!
Subscribe to:
Posts
(
Atom
)