
The whole renovation process took us quite awhile because we only started searching for an ID after receiving our keys in December. By the time we confirmed one, it was the Lunar New Year period so everything came to a halt. Thankfully, we didn't encounter much problems with our renovation and the house was ready by April. We went furniture shopping, took our time to move in and finally did so in May.
In this entry, I will share on what I splurged on and what I saved on.
SPLURGED: Interior Designer
It was not necessary for us to hire an Interior Designer because I already knew what I want. However, he wanted an overall in charge so we opted for an ID instead of a contractor (but in the end he still went down frequently to personally check on the works -_-)
The ID we selected was more expensive than the other options we had, but S liked her service so we decided to go with her. I will not go into details about the ID. Generally I am satisfied with the carpentry done and I liked that she allowed me to decide on all the designs myself.
SPLURGED: Flooring
We opt out of the HDB tiles because I have always wanted wood flooring. I think it makes the place feel much cozier! We did vinyl flooring on the entire house including the kitchen. Only the bathroom tiles remained untouched. I was torn between light grey or light brown and I'm happy we eventually chose light grey!
SPLURGED: Air Con
We purchased our aircon at more than 5K for 4 units. It was impulse purchase because we wanted to settle it asap but on hindsight we could have just settled for something in the 3K range.
Lets start with my favourite corner of our house.
Kitchen
I knew right from the start it would be open concept, just that we aren't sure of the layout.
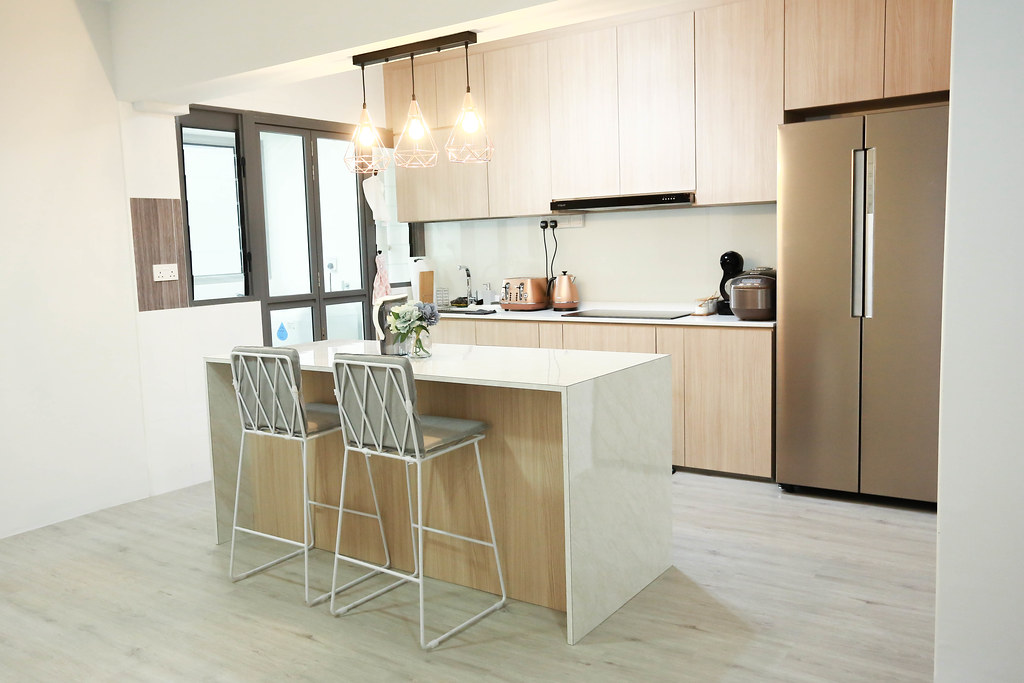
I love how our island is in the center! And I love the chairs I bought from Taobao after searching high and low for a nice counter chair. Brown tiles are original from HDB. We like it.
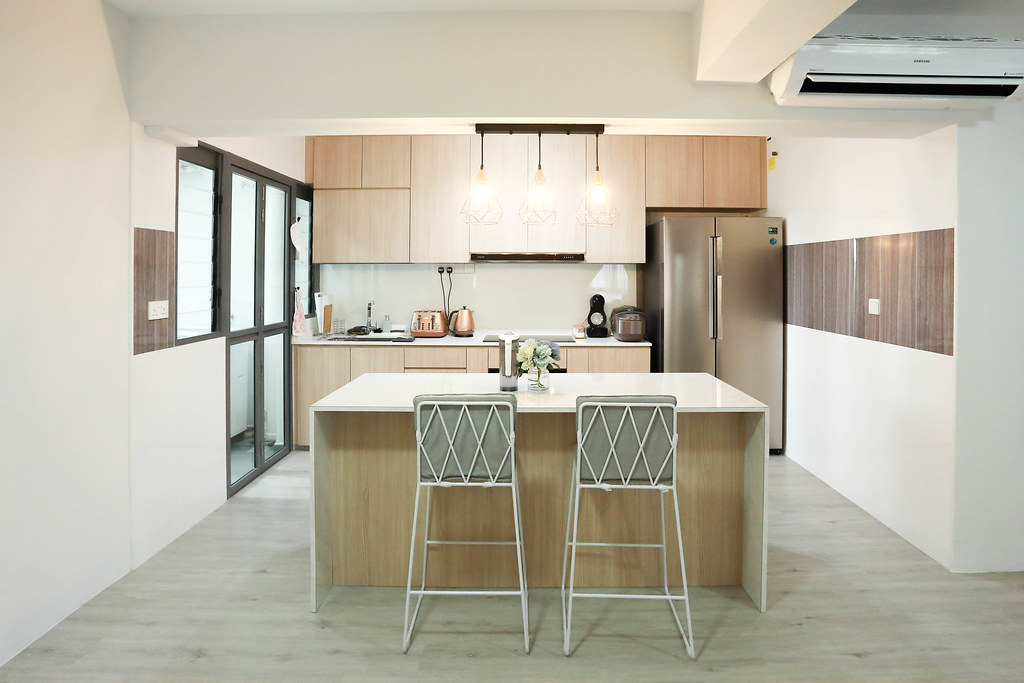
I don't like gas stoves so we had an induction stove installed. Made sure to find one without knobs so that it looks sleeker.
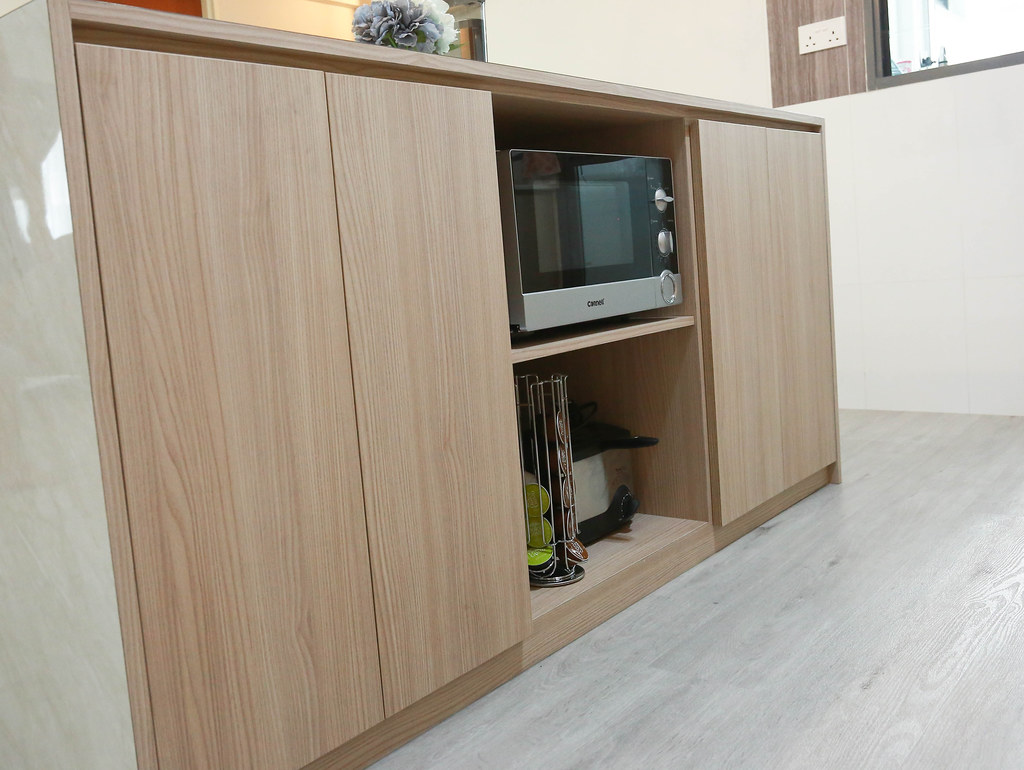
I love our fridge!! I bought it because it looks pretty. Hehe. Our kitchen is not long enough for an additional column so we placed our built in oven below the stove, which looks great too! Our microwave oven is under the island.
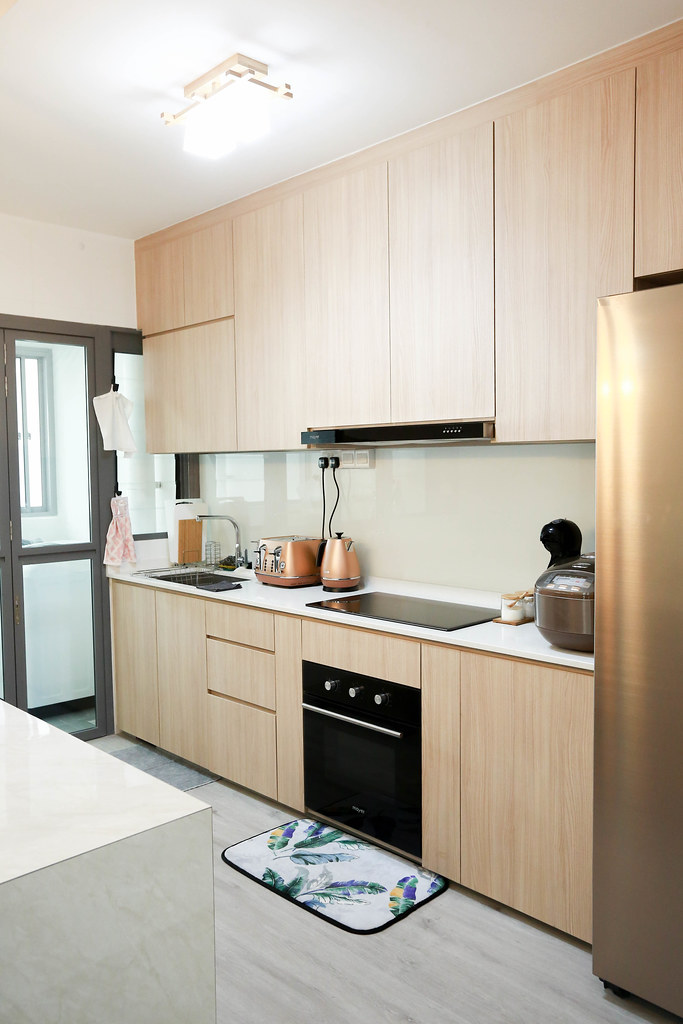
I am so satisfied by how it turned out. I can't seem to capture the correct tone in photos but I'm in love with our wood laminate! In real life, it is the exact colour that I envisioned and I'm so glad I chose correctly from the catalog. It's very difficult okay, selecting from the tiny pieces of wood samples in the catalog. I was afraid the wood laminate would turn out too yellowish, too orangey, too raw, too light, etc. In fact, it was so difficult to describe the shade I was looking for. Thankfully the shade is damn nice. We asked for an all-white backing because I didn't like the default clear ones with a greenish tint.
This is the back of our island. I requested for two cabinets at the side for dishes.
Washing machine and dryer goes to the service yard.
SAVED: Island Top
I got a shock at first when we received the quote as the ID's plan was to have quartz for both our kitchen top and island top. I quickly told her to change the island top to laminate hahaha. It reduced our cost greatly but it also means that we have to be careful and not place hot pans on it. I love the marble laminate we chose! We obviously kept the quartz for the kitchen top because that's money that cannot be saved and quartz is already quite mid-range as there are better (and more expensive) materials.
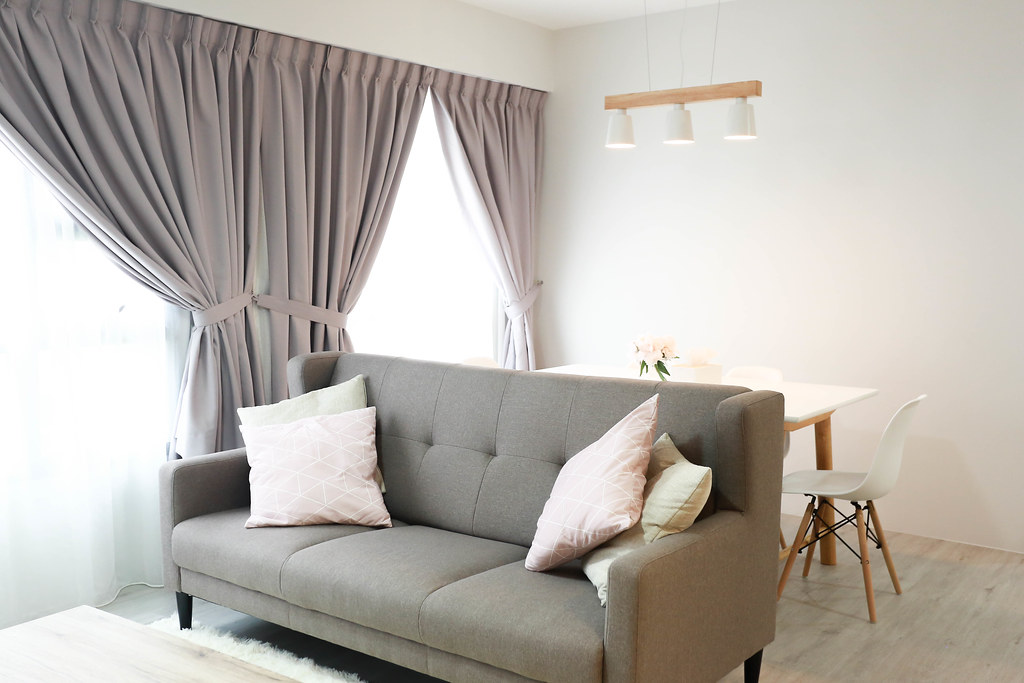
Living and Dining
SAVED: Minimal Carpentry
We did a full height shoe rack at the side and that's all.
Instead of a feature wall and built in TV console, I decided to paint one side of the wall grey.
We did not do any false ceiling as well, we just used the lighting points that were provided to us. Instead of trendy cove lights, I got some nice hanging lights instead. I think it's a worthy save because I feel false ceiling or no false ceiling doesn't do much to change the overall look of a house. The cost difference is just not justifiable enough for me.
Most people use false ceiling to hide aircon pipe boxes but I thought it doesn't bother me much so I chose not to box up those at my corridor too. Doesn't affect the overall look. I only boxed up the one running above my kitchen island cos that one's too obvious.
SAVED: Furnitures
Most sofa are in the 2K range but we got ours at only $599 from courts. Loved the design too!
The TV console and coffee tables were beyond our budget as we got them from a normal furniture shop. We bought them on impulse because we had limited choices and this was the most acceptable one. We had to find a wood tone that matched the rest of the house and most are too orange or dark. Afterwards we found a wide range of nice wood consoles and coffee tables at Ikea but too late.

For our dining table, we initially purchased a table separately from a normal furniture shop because I liked the table but not the chairs. However, it kept having shipping issues and we asked for a refund. Eventually, we found a table on Hipvan and ordered some chairs from Taobao. I LOVE OUR DINING AREA.
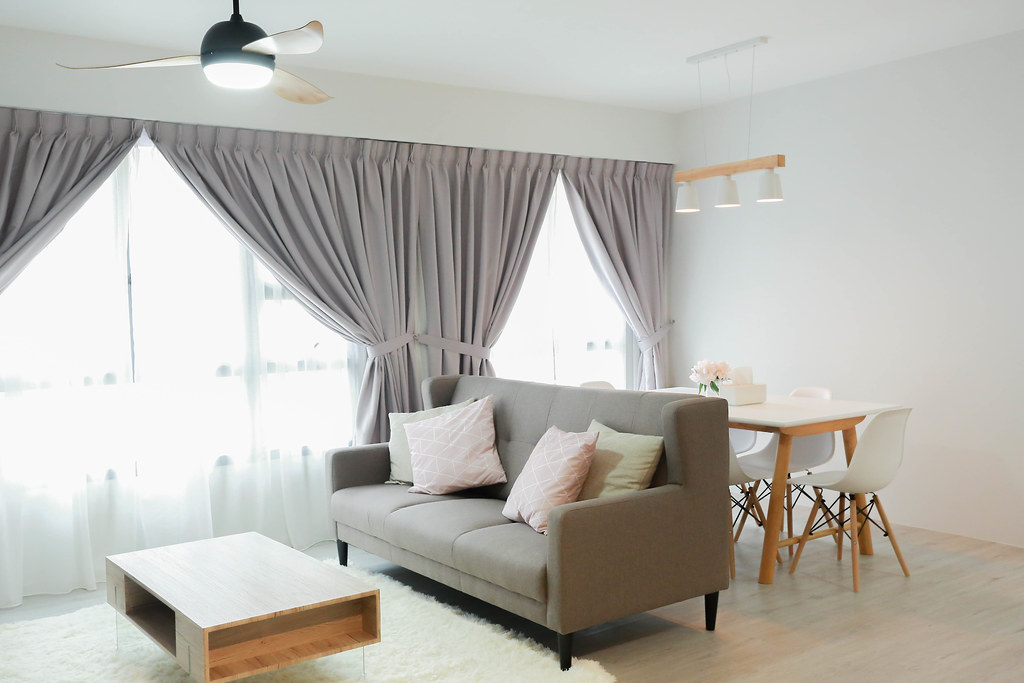
We got our curtains at $1388 for the entire house, which I think is quite an okay price too.
Guest Room
SPLURGED: Platform
I chose not to get a traditional bed for this room because I didn't like the idea of having "three beds" in a "home for two". Haha. However, I was sure to have guests so we still need to cater space! I decided to build a platform instead. A mattress can be pulled out from below and if needed, we can put another one on top to make two makeshift beds. I almost scrapped the whole idea because of the cost... Told him we can just buy a sofa bed/ day bed and it would still be okay. However, he liked the platform so in the end we retained it.
We also planned for the future okay. If we have kids in future, first few years will be in the baby cot in our master bedroom and when the kid grows older, he/she can have the pull out bed and we don't have to redo the entire room :) The only problem is currently the room is painted mauve rose on one side and if we have a boy, he confirm complain why so girly hahaha.
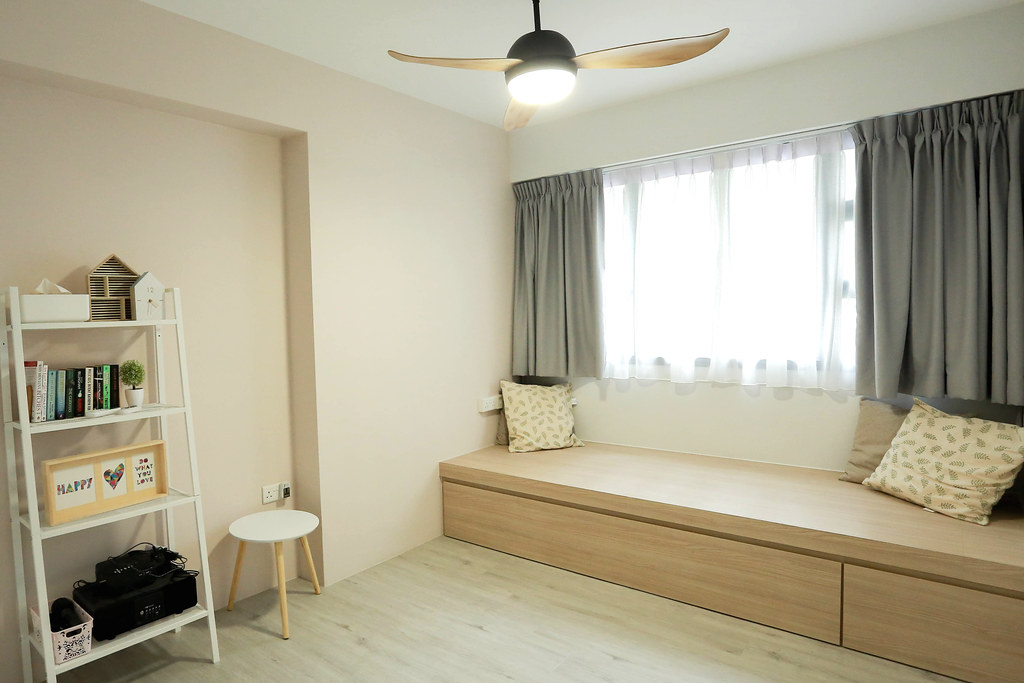
SAVED: Simple furnishings
We placed a rack and a small side table to furnish up the room. We also signed up for Popsical so that the small room can double up as karaoke room. However, I didn't want to fix a TV here so we bought a portable projector to be used against the white wall facing the platform, where our guests can sit.
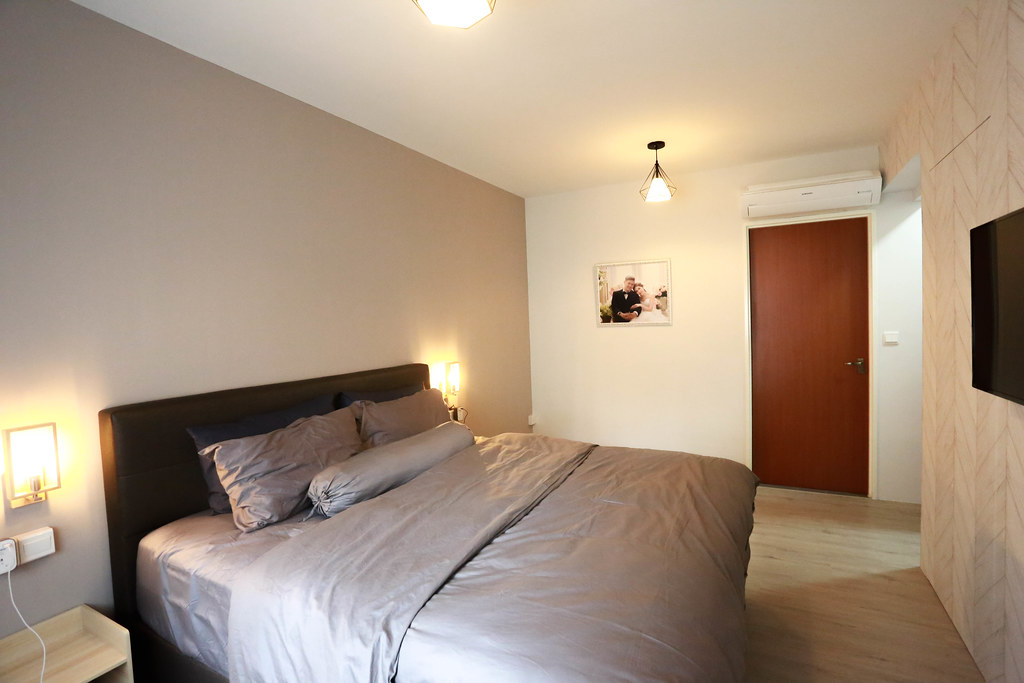
Master Bedroom
SAVED: No Carpentry
We placed our bed in the middle and bought two side tables and fixed two side lamps. Tada~
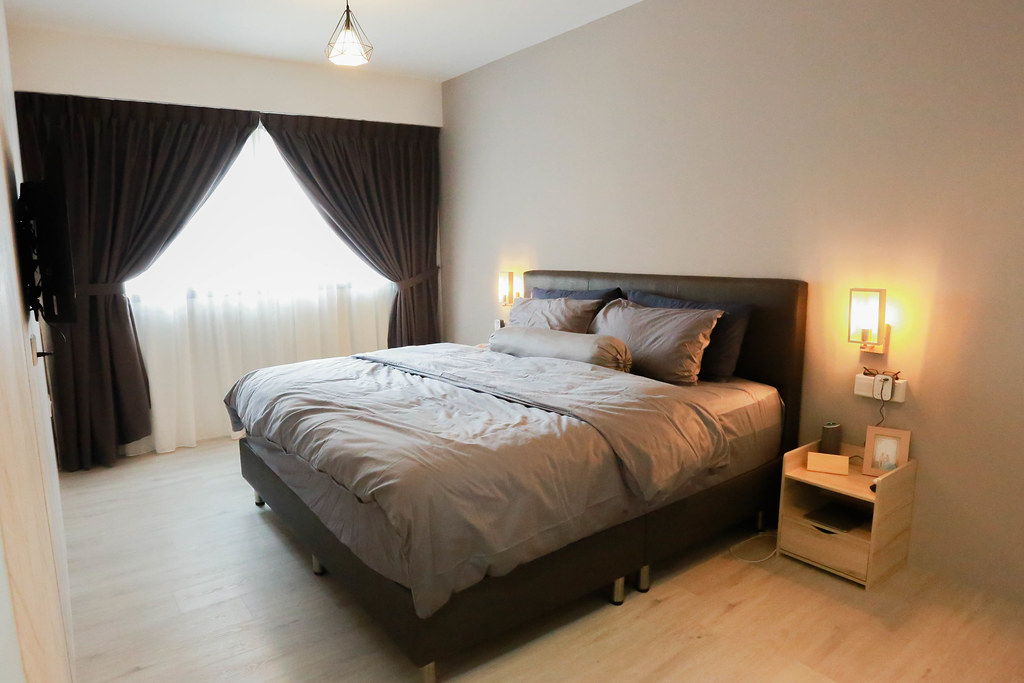
SAVED: Wallpaper instead of feature wall. Building a feature wall for the TV is going to cost another bomb so I decided to wallpaper that side instead. For our headrest side we painted it grey.
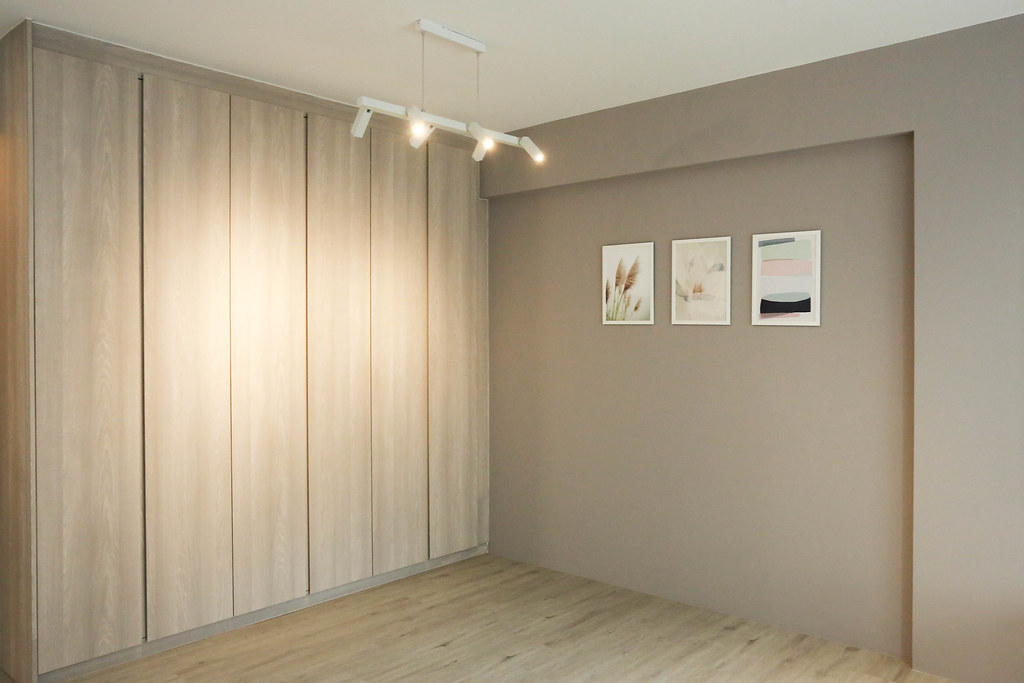
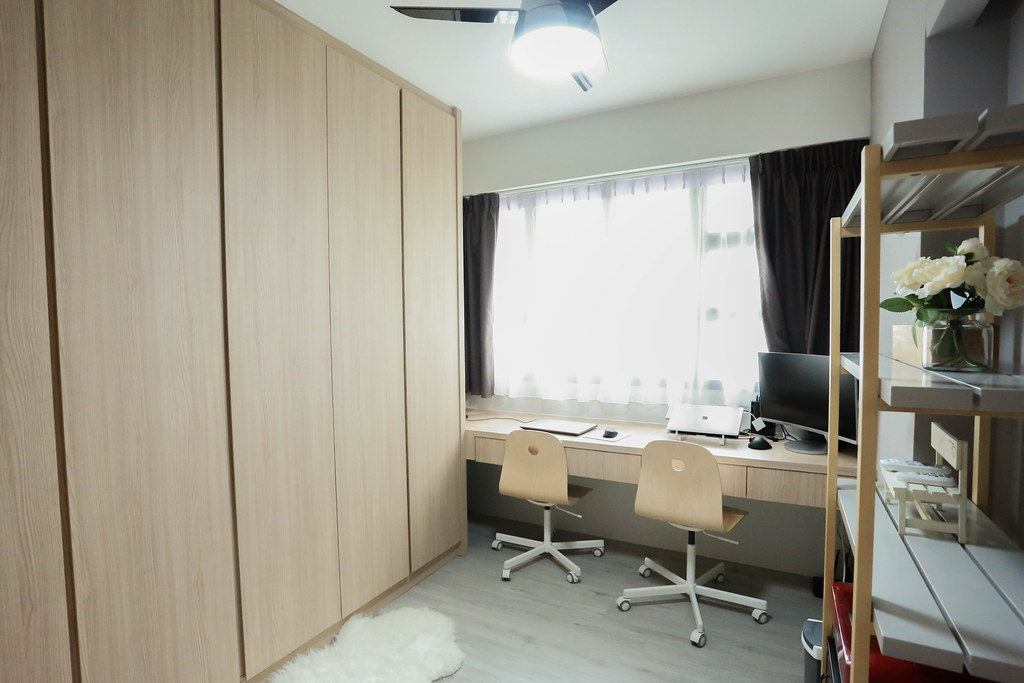
Walk In Wardrobe and Study
We closed off the original door of the 2nd bedroom and created a "hidden door" in the wall from the master bedroom. It became like a secret room within our room!
Ideally, I wanted a narrow long walk in wardrobe shown in movies but our room was a square, so I had no way to do that. Hence, I just did a normal L-shape against the walls. He has the shorter side while I have the longer side. But still not enough I feel!
SAVED: Swinging wardrobe doors instead of sliding doors. It would cost more to have it sliding and I didn't really care so I chose the cheaper option. Note the measurements for the door and make sure it doesn't hit the ceiling fans when you open it.
SAVED: I didn't bother to have special doors for the corner because it would cost more. It's okay I can stretch my hands in for those items in the corner.
SAVED: No special lights fixed in the wardrobe. Okay lah I get it, it will look prettier but not necessary for me.
SAVED: No dressing table. I figured I can just take my mirror and put on the study table for the same usage.
SPLURGED: I wanted the study table to face the windows... I can easily just find a long table to have the same effect but I decided to go with carpentry because I am not sure if I can find a table that fits perfectly.
Bathrooms
SAVED: Although it would be nice to have a "hotel bathroom", it was the least of my priorities so I didn't bother to set aside any budget for it. We did nothing to the bathroom except installing shower screens and getting the bathroom accessories included in our ID package. We also did a small cabinet below the sink of the master bathroom. We are lucky that our default tiles from HDB has quite a nice brown wood grain look which matched the other parts of our house.
That's all! Am quite sad that I didn't manage to take really nice shots of our house before we mess it up.... The colours in photos don't seem accurate lei.... In real life it's a pleasant shade of light grey, white, and light wood.
Am quite pleased with how everything turned out!
No comments :
Post a Comment